I wasn’t always a fan of the gauge swatch, but by necessity, when I began designing stuff, I had to swatch. At first I used my swatches for the obvious reasons (determining how many stitches to cast on, increase, decrease, etc.), but after a few designs, I realized the additional value of my swatches. Not only do I return to my swatch information (to work the math) while I’m working on my project, but I also return to my swatches for inspiration and as a way to document and build on my ideas for new designs. Nowadays, I’ll never rarely knit a project without using a swatch. Often, I will work up at least two swatches, especially for a new stitch or color patterns.
Before I fully embraced my gauge swatch, I knew that I should make a swatch, I just didn’t do it. I wanted to begin knitting on my new project ASAP and I thought my knitting was probably close enough to the gauge given in the pattern. I couldn’t wait to cast on a new project with new yarn and I went charging ahead with the cast on.
I think that gauge swatches can be intimidating, especially for new knitters. I know from my own experience that when I first began to knit, I thought was that I was “pretty close” to gauge, but I really didn’t know what it was or how to use it, and I certainly didn’t measure it accurately (hanging from needles–mid-project – UGH!). Fortunately, in the 1980’s, over-sized sweaters – sweaters with lots of positive ease – were fashionable, and that’s the project I started with – an over-sized sweater. With over-sized sweaters, you can be “pretty close” to gauge and still end up with something that fits. Having a slightly lower stitch gauge (fewer stitches per inch) would mean that the over-sized sweater would be a bit more over-sized. Having a slightly higher stitch gauge (more stitches per inch) the over-sized sweater would still fit, but be a bit less over-sized. Lucky on my part!
Because I didn’t really know what I was doing, I would kinda-sorta check my gauge as I worked, hauling out my tape measure and measuring while my work was hanging on the needles. I think my experience is pretty typical of new knitters. I didn’t know what I didn’t know. I didn’t know how to a). make a swatch (it’s not as obvious as one would think, especially for a new knitter) b). measure the swatch to check the gauge (also not obvious to a new knitter), and c). block anything, and why blocking is important for the swatch. Blocking wasn’t even mentioned until the last paragraph of the sweater pattern. How would a novice knitter know to block the swatch? Even if I had known those things, I wouldn’t have known exactly what to do if my gauge didn’t match the pattern gauge in the first place. Additionally, as a beginner, I didn’t have an array of needles to swap if my gauge didn’t match the pattern. I was a poor college student, and even way back then, knitting was an expensive hobby. After purchasing the pattern book (Lopi, vol 10), two sets of circular needles (sizes US 6 and 10), and two sets of double pointed needles (US 6 and 10), and the yarn, I had already more money invested in this new-to-me-hobby than in my entire 1984-1986 new technology CD collection. The point is, even if I’d made a swatch, I wouldn’t have known what to do with it or how to fix it, and if I HAD known how to fix it, I probably still wouldn’t have spent the money on four more sets of needles that still might not get me the correct gauge. It was definitely easier just to ignore the swatch and blissfully begin knitting. I used the needle size suggested and got very lucky that the sweater fit when it was finished. If the sweater hadn’t fit, I may never have knit anything again. But it DID fit. And so I made another one. And another. And another… and never made a swatch. Of course, it was only a matter of time before there was a project failure due to “incorrect gauge”.
Now I know better. I’ve got the tools I need to make a swatch and measure it properly and years of experience to know how to use the swatch to my advantage. I’ve come to embrace and even enjoy (!) the swatch process.
My top uses of my gauge swatches are given below.
First, I use the swatch for all the math reasons: when, where, how many stitches, rows, increases, and decreases. The gauge swatch is a calibration of my knitting with a specific set of needles, a specific type of yarn, and a specific knitting technique. My gauge can change slightly when I use metal or bamboo needles. My gauge changes more when I use different types of yarn. My gauge changes a LOT if I change my knitting technique, which I do occasionally for some obvious reasons. For example, I get a different gauge when I work in the round versus when I work back and forth, or when I do two-handed stranded knitting compared to simple stockinette. Sometimes I change my technique for less less obvious reasons. For example, sometimes I alternate “picking” and “throwing” techniques on projects to work different muscles in my hands, wrists, elbows, and shoulders to reduce the chance of repetitive motion injuries.
I don’t worry too much about the change in gauge with different needle types because it is usually such a small difference that it doesn’t significantly affect the outcome of the finished object. I pretty freely change needle types within projects, especially if I don’t like how the stitches move off the needles. I would caution against changing from round to square needles though, as I suspect there would be a more significant change in the gauge.
Using different yarns, even if they are the same weight, can give a different gauge, so whenever I use a different type of yarn, even if it is the same weight, I make a new swatch to make sure the gauge matches what I am expecting.
And of course, if I’m going to use a different knitting or stitch technique, I make a new swatch because, as I stated above, I know I have very different gauges when I use different techniques.
The second way I use my swatch for is to determine if like the fabric I am making. Do I like the color combination of the fabric? Do I like the weight and fullness of the fabric? Do I like the drape of the fabric? I am likely to be spending a lot of time and and I’ve probably already spent money on this project, so I want to be pleased with it when I am finished. For this reason, the swatch should be large enough to be a good representation of the fabric of the finished project. At the minimum, the swatch should be 4 by 4 inches, and ideally 6 by 6 inches. A larger swatch will give you a more accurate calibration (better math) as well as a better representation of the fabric.
A third way I use my swatches is to determine if I like the technique or stitch pattern enough to commit to an entire project. For example, I love the look of linen stitch, but I find that it can be tedious. If I can’t muster the motivation and enthusiasm to work through the gauge swatch, how will I finish an entire project with this stitch? If I am learning a new technique or practicing a new type of stitch, it is better to practice in a swatch than in a large project. Creating a swatch gives me time to practice and to consider if I want to plunge into the larger project. I have definitely abandoned ideas when I discovered how challenging it was going to be based on the swatch.
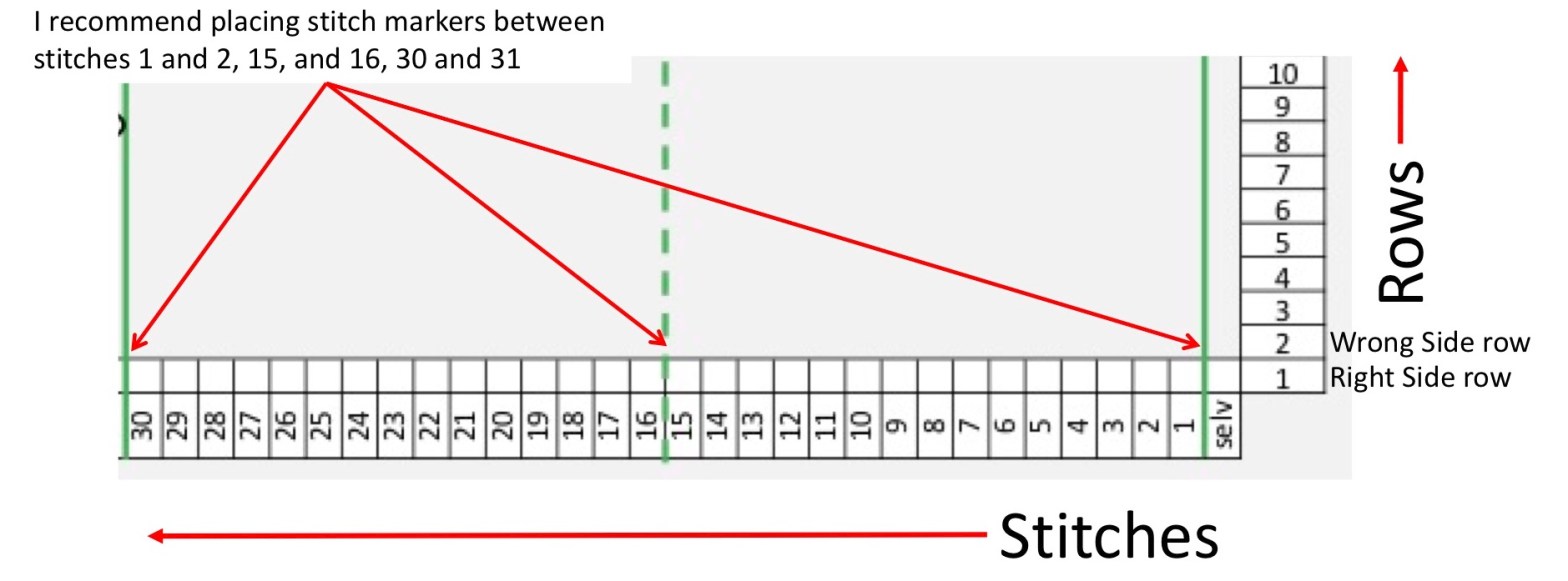
The last and unexpected way that I use my swatches is as a occasional and sentimental trip down memory lane, which only occurred to me as I was getting out my swatches to photograph them. I got distracted by the basket full of swatches, and needed to handle them all. I do a lot of knitting for other people now and don’t have access to many of my finished projects. All I have left is the swatch. Each swatch has a person, project, or idea associated with it and I enjoy remembering these things. It does help to LABEL your swatches (especially with needle sizes) if you ever want to go back and use them.
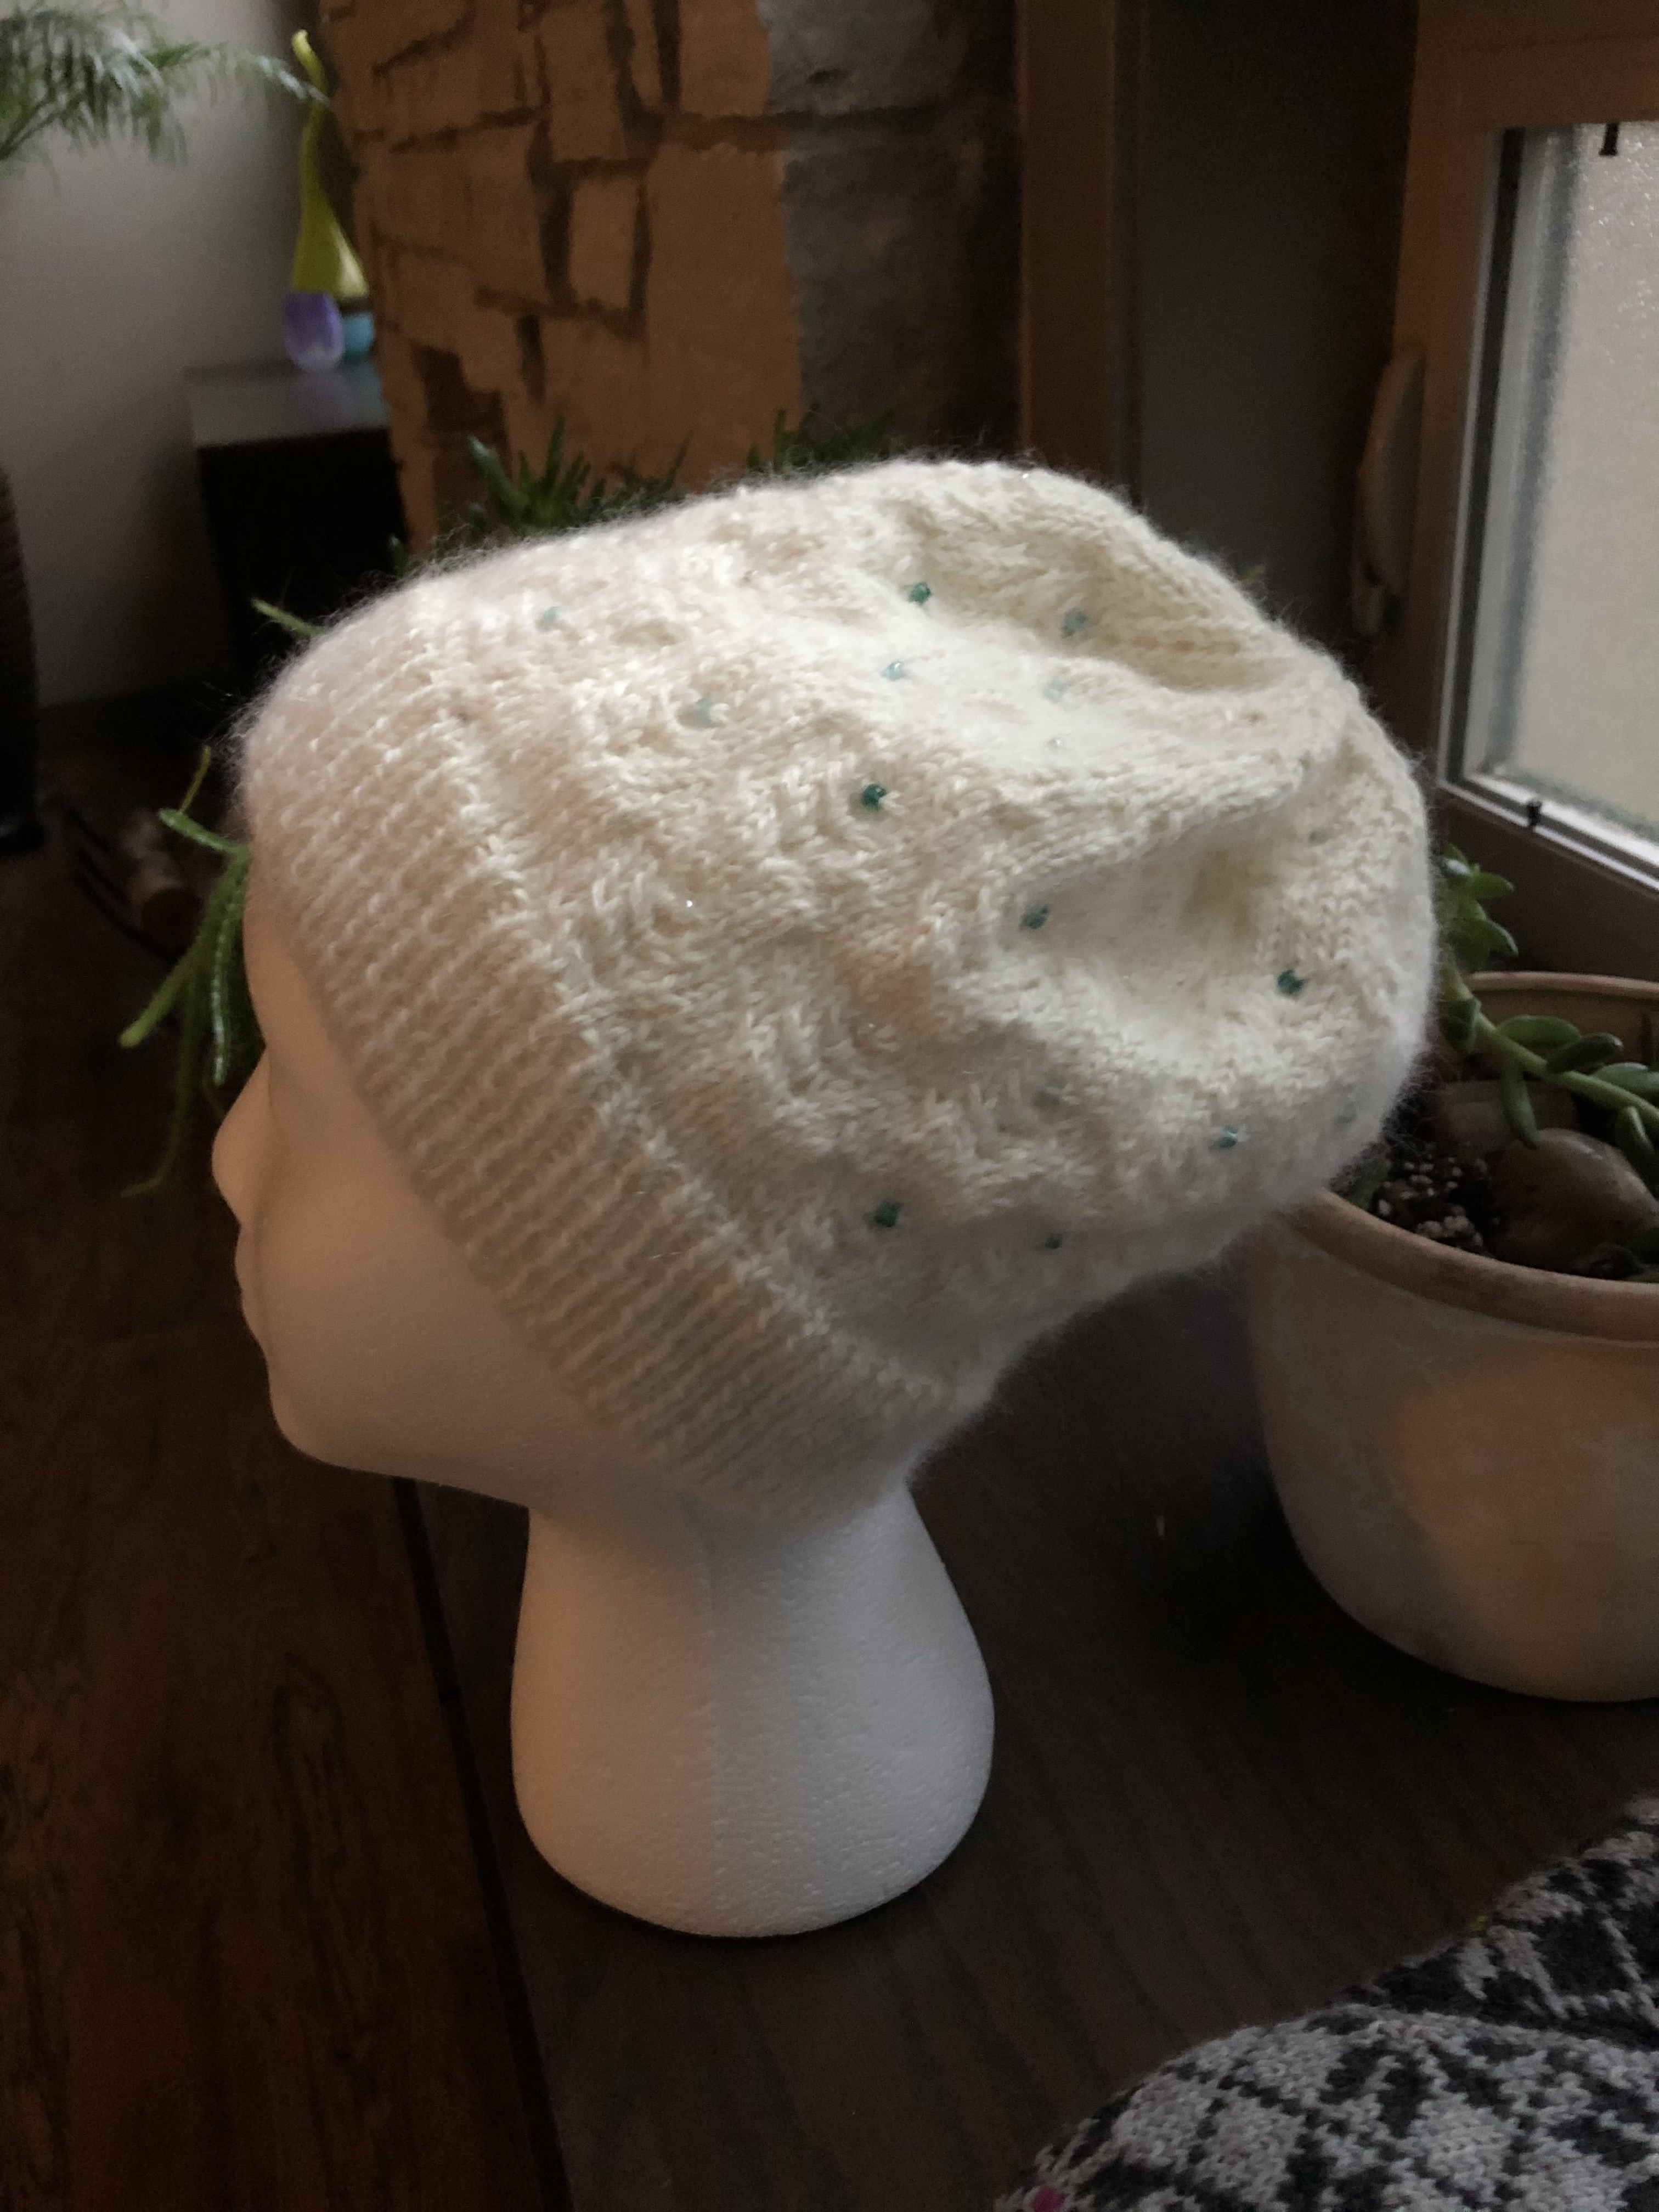
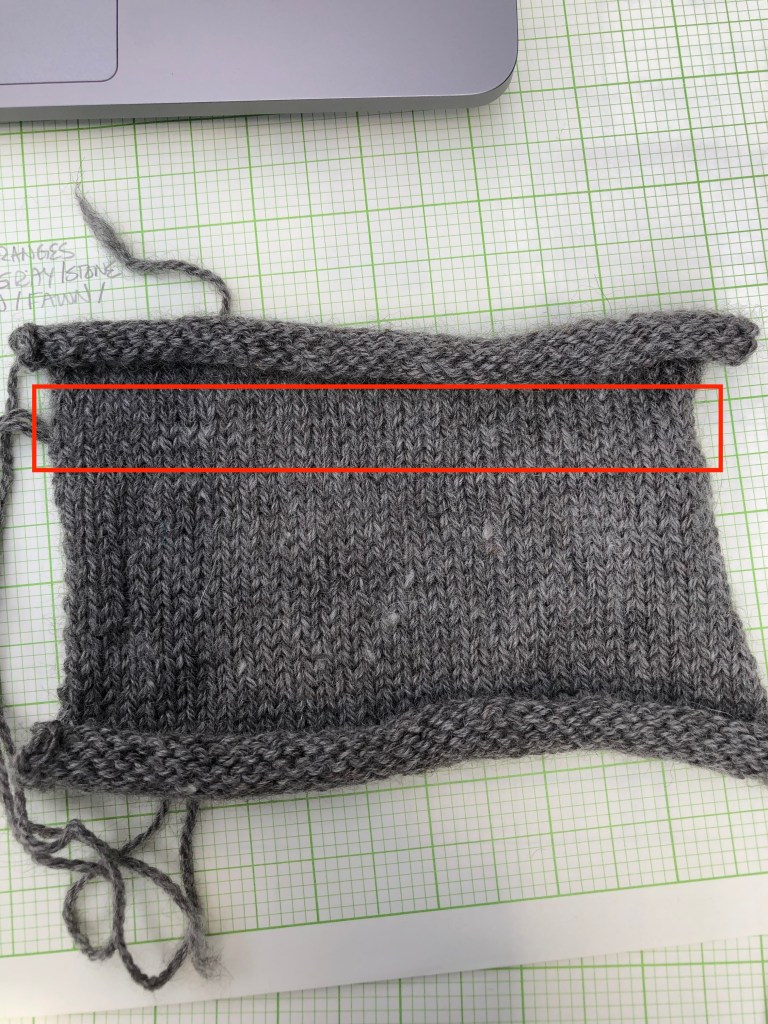
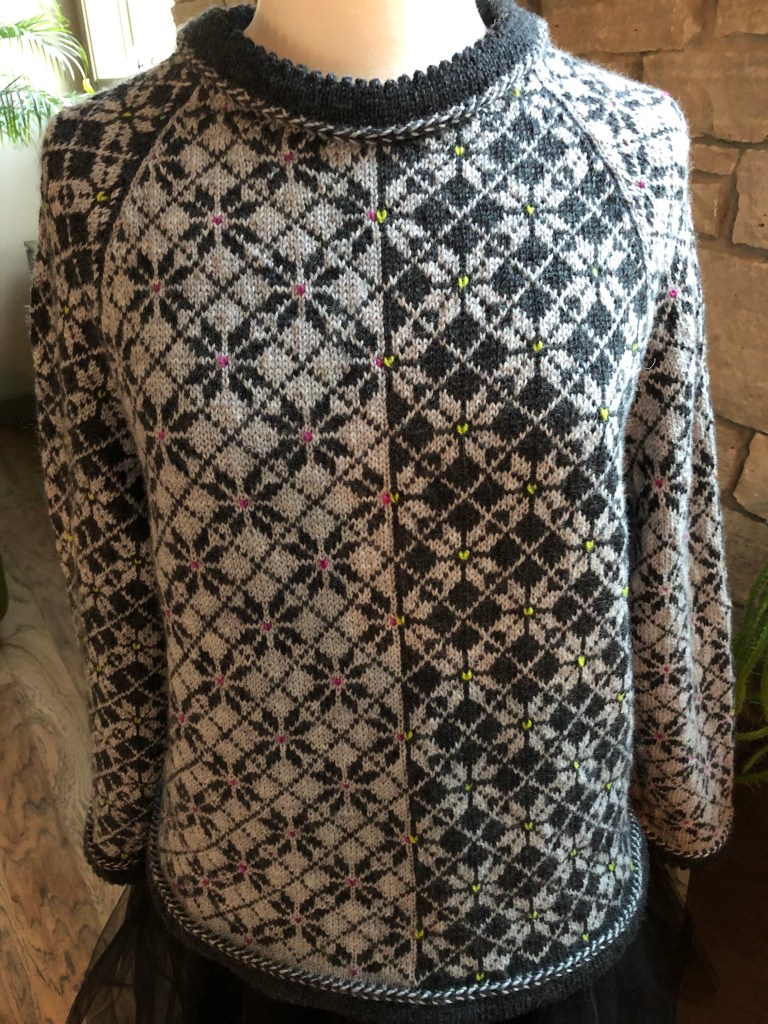
I’ve shown some of my recent swatches below. Some have made it to finished objects, some are still waiting for their project destinies.

The cast on is almost invisible from the front – public side. It looks like a seam. 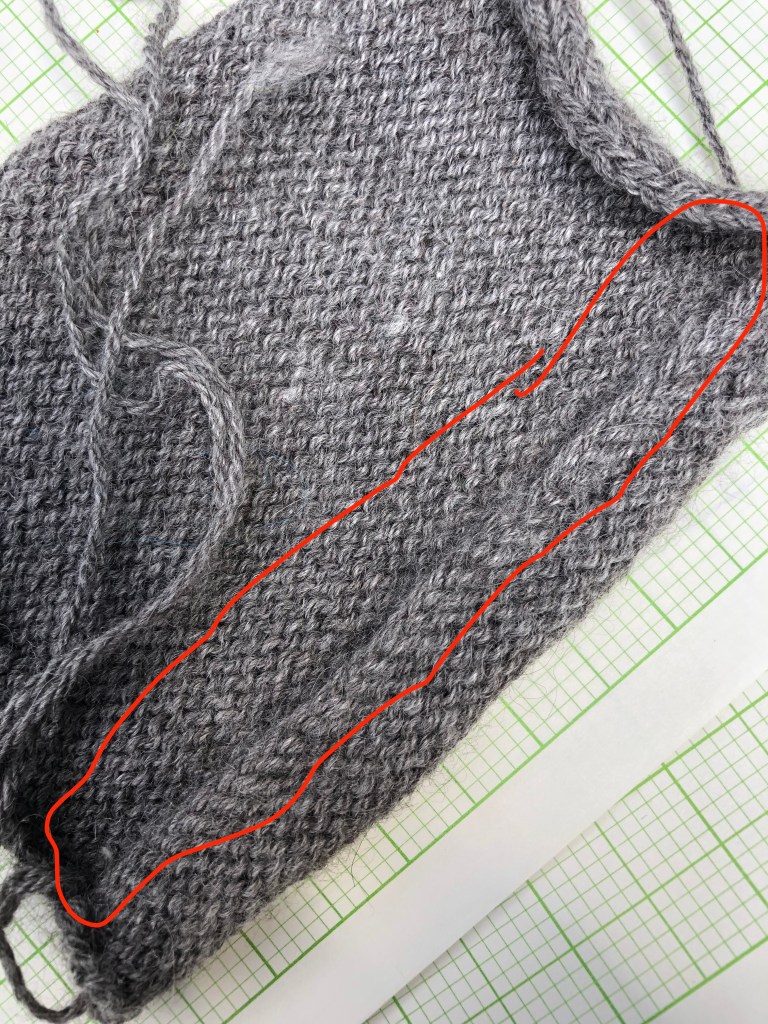
The seam is quite visible on the back – private side.
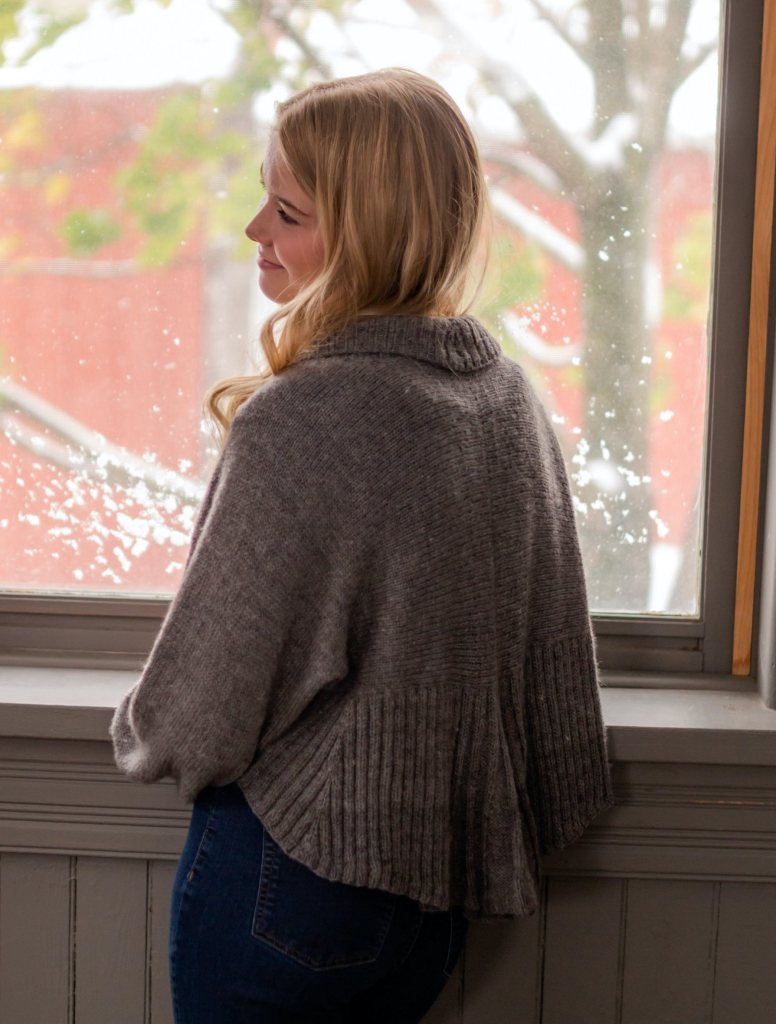
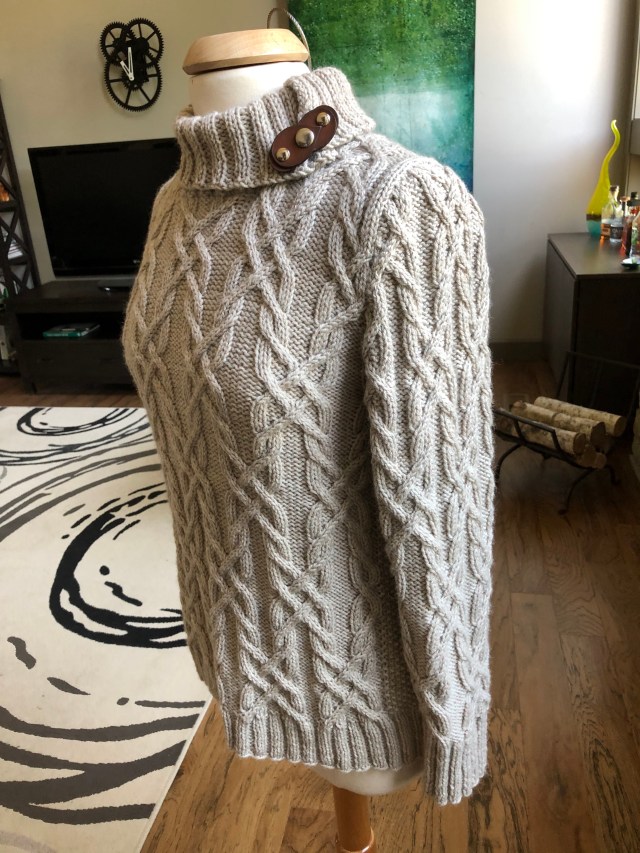
I used the cast on method above for this version of the Steventon Shrug 
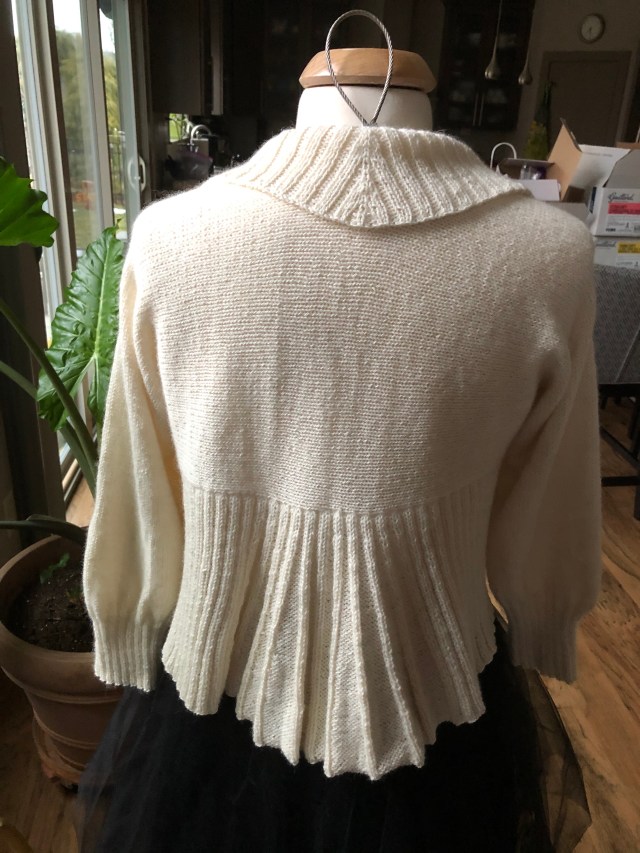
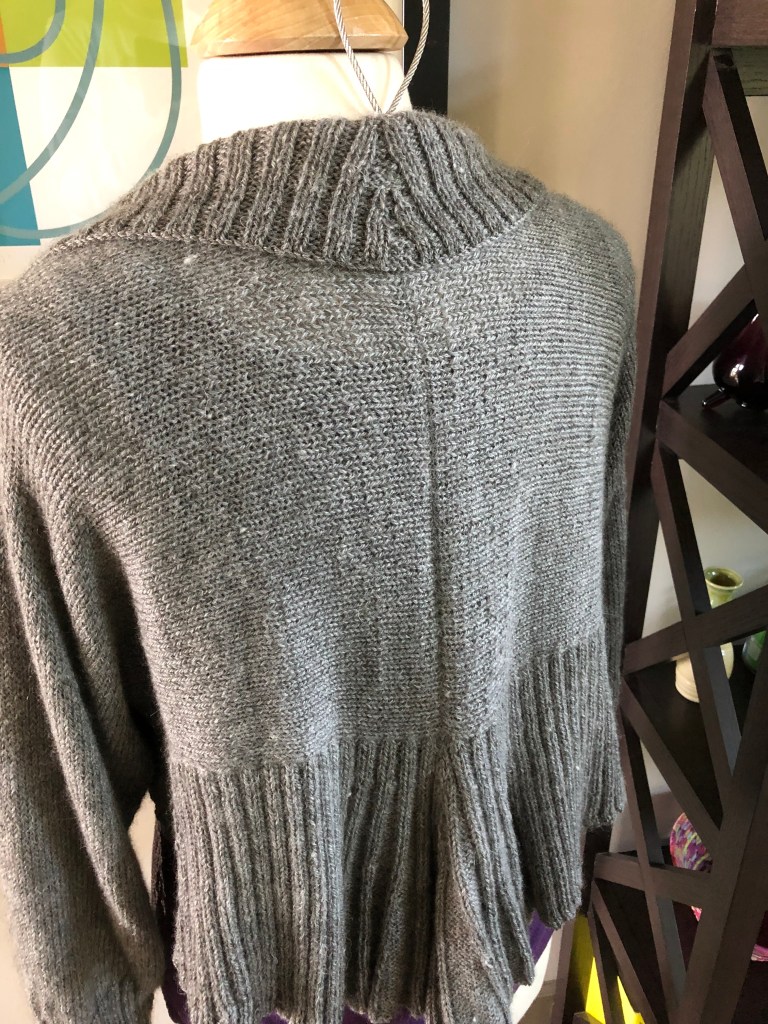
I used a traditional provisional cast on for this version of the Steventon Shrug.
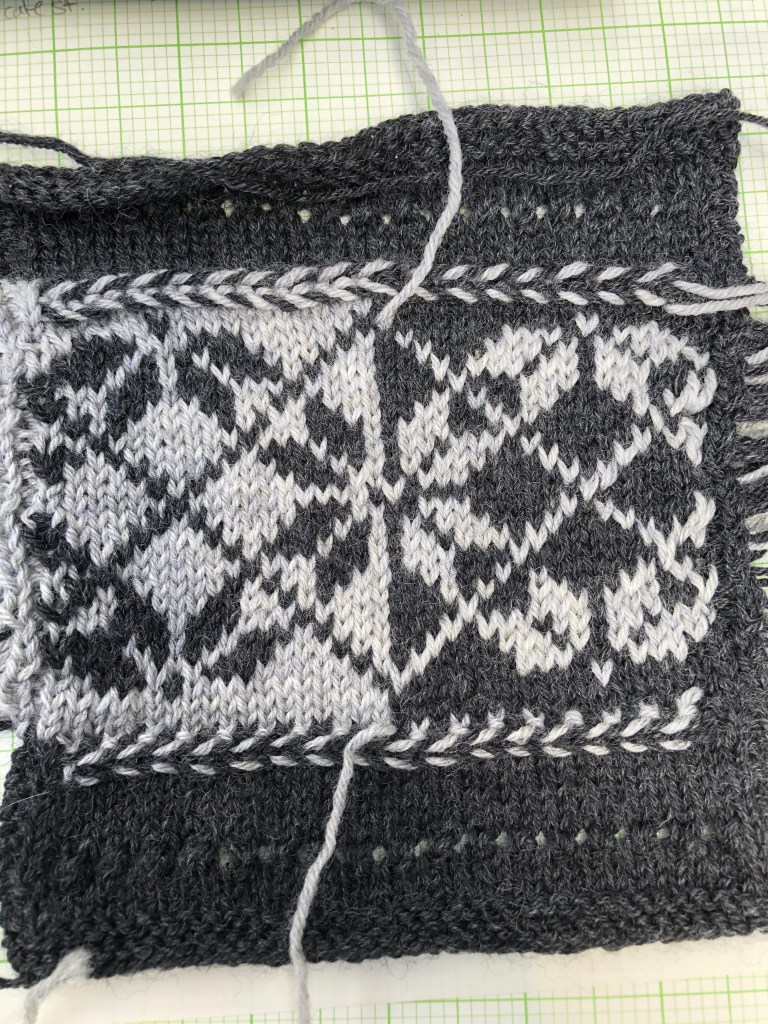


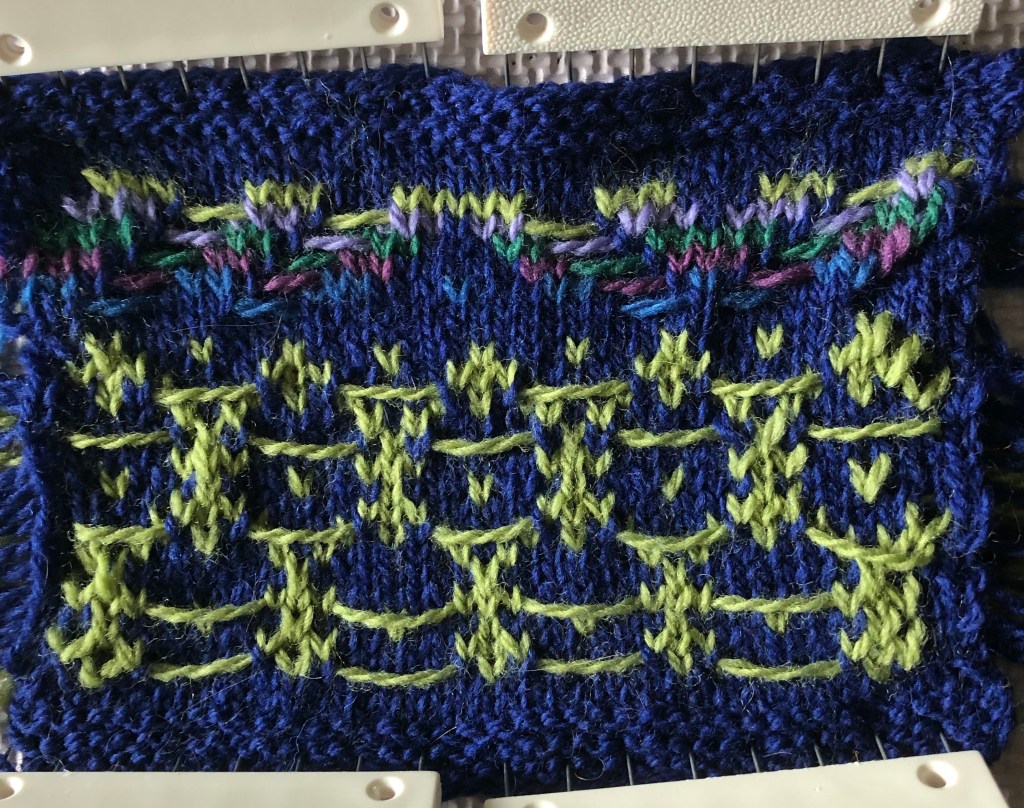
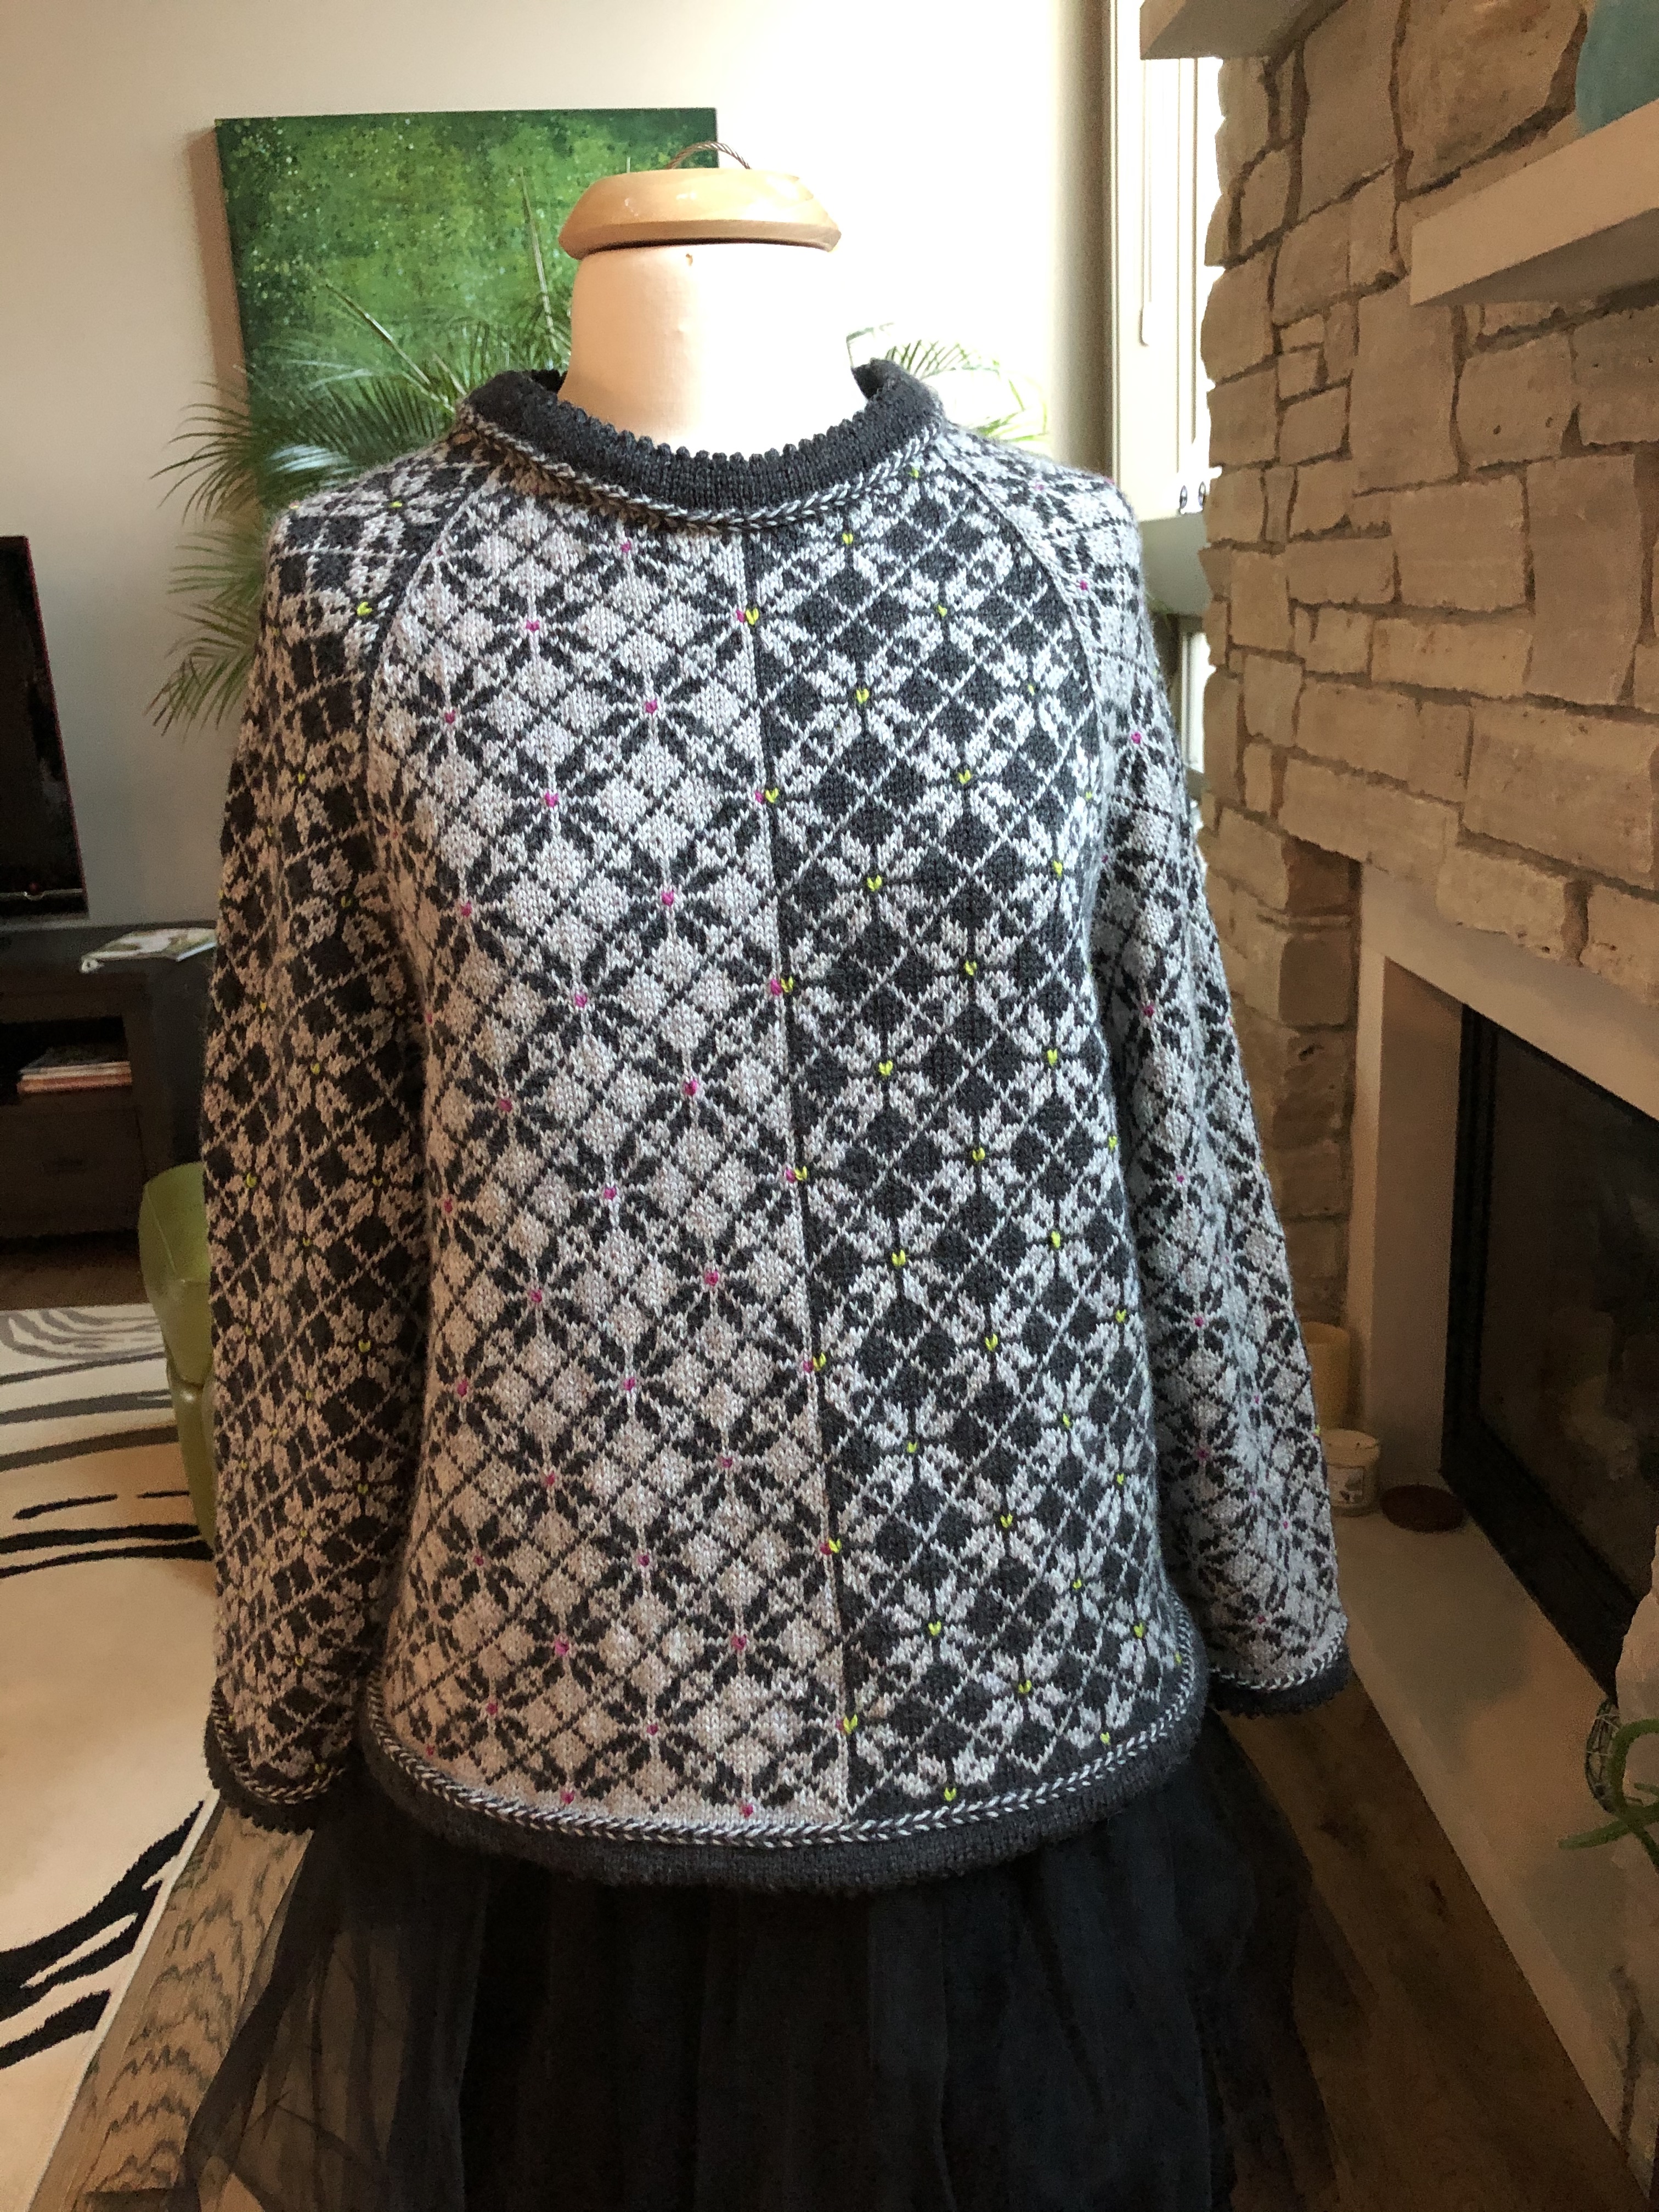
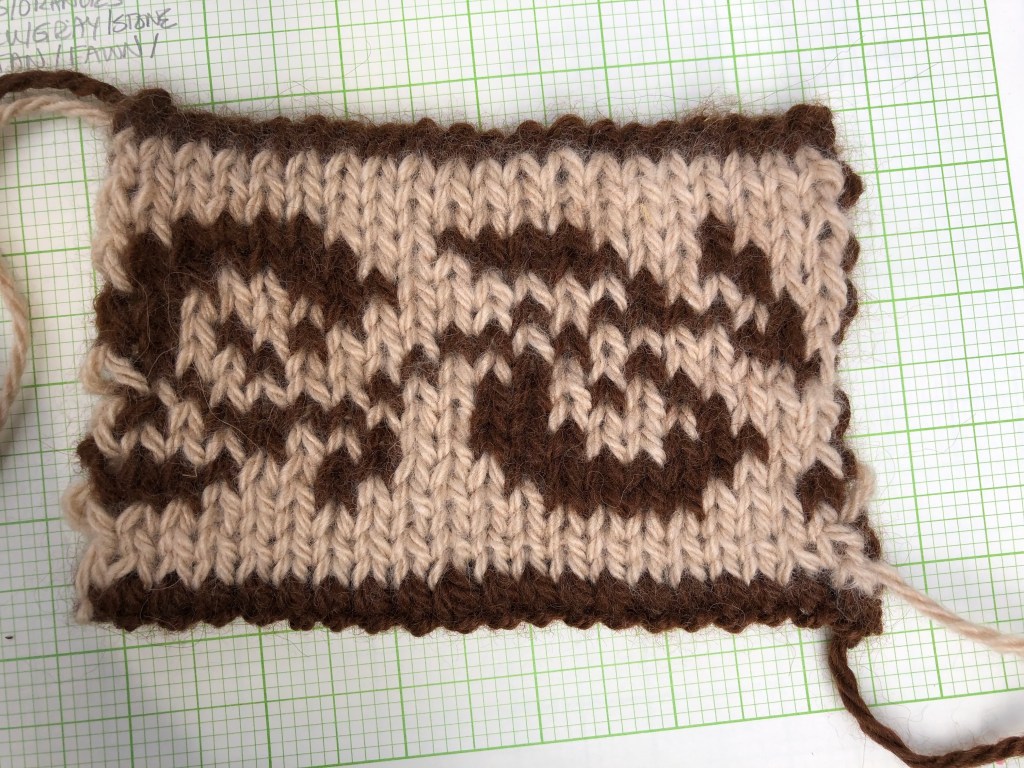
The first swatch: playing with visible floats. I really liked the top bit. 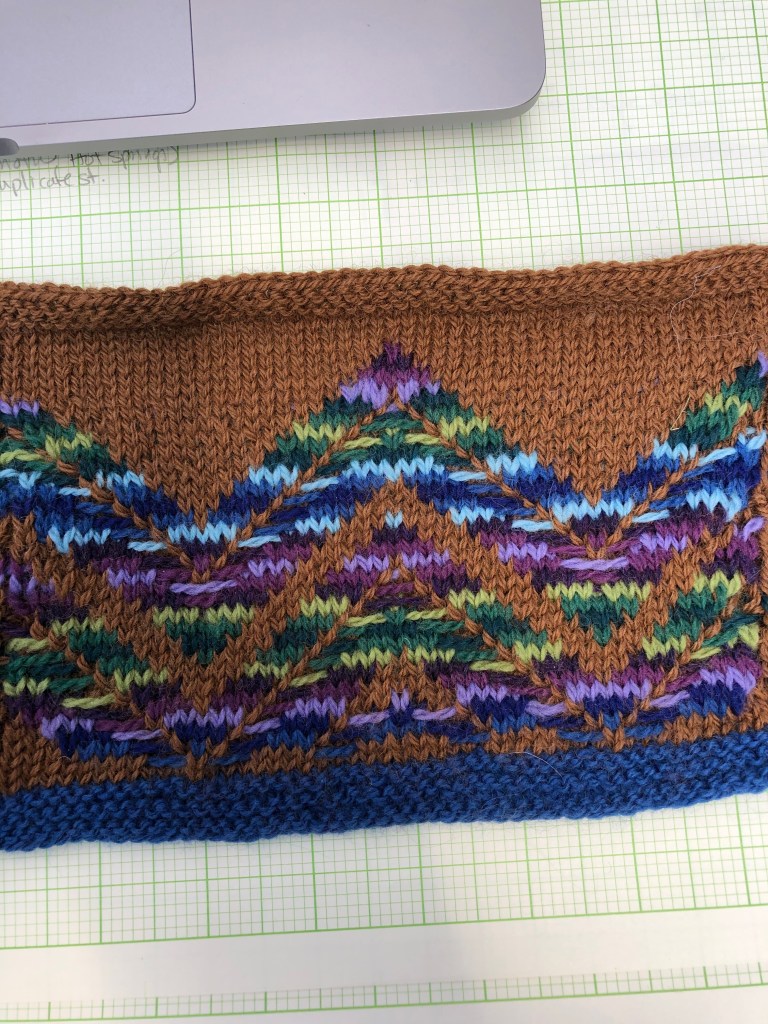
Second swatch adjusting the pattern and color combination.
In summary, make swatches! Play with colors, textures, and stitch patterns. Label and save your swatches!
Cheers,
Mindy