
Caramel apples are delicious. Chocolate covered caramel apples are divine. The first time I tried to make caramel apples I got frustrated. And burned. Nothing burns like sticky, hot caramel. I now have an aversion to and a healthy fear of working with hot caramel, so I figured out how to make caramel apples without using hot caramel. Here are my cheats and simplifications.
First cheat/simplification: I don’t make my own caramel. There are so many variables when making caramel that don’t include the variables in the ingredients – the exact temperature, the humidity, how quickly the mixture is cooled. The list goes on. So, I found a good source of caramel – Peter’s Caramel – and have used it ever since. It tastes good. It has a consistent quality. I know what I’m getting. Homemade caramel might be more delicious, but this is easier. Plus, I’m coating it with chocolate – high quality chocolate. The taste and texture of the caramel is sandwiched between the taste of the apple and the taste of the chocolate. My palette is not discriminating enough to tell the difference. So for me, it’s just not worth the effort to make my own caramel. My local kitchen store (Garlic Press in Uptown Normal, IL), local cake decorating store (Decorator’s Grocery in Bloomington, IL), and local-ish pastry supply center (Sweet Treat Supply of Gridley, IL) all carry Peter’s Caramel. Both the Garlic Press and the Decorators’ Grocery sell it in smaller quantities in addition to the five-pound loaf.
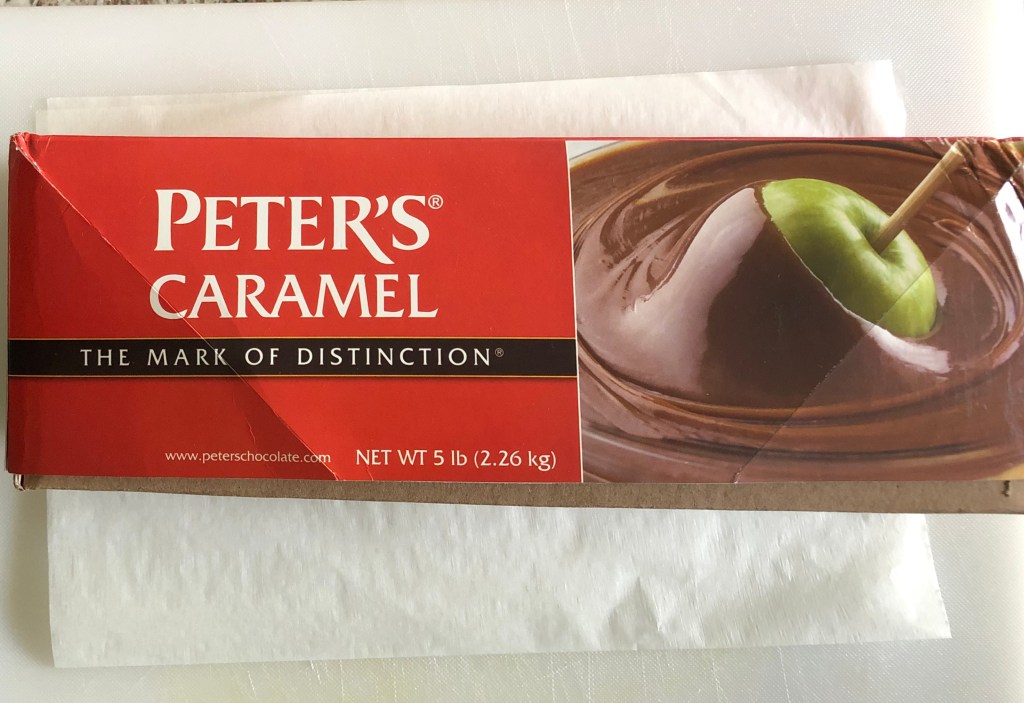
Second cheat/simplification: I don’t heat the caramel or dip the apples, as shown in the picture on the box above. There is a recipe for caramel apples on the box but I don’t use it, because – hot caramel. Ouch. Plus, when you melt the caramel and dip the apples, the hot caramel tends to slide off the apples, and there ends up being a lot of wasted caramel.
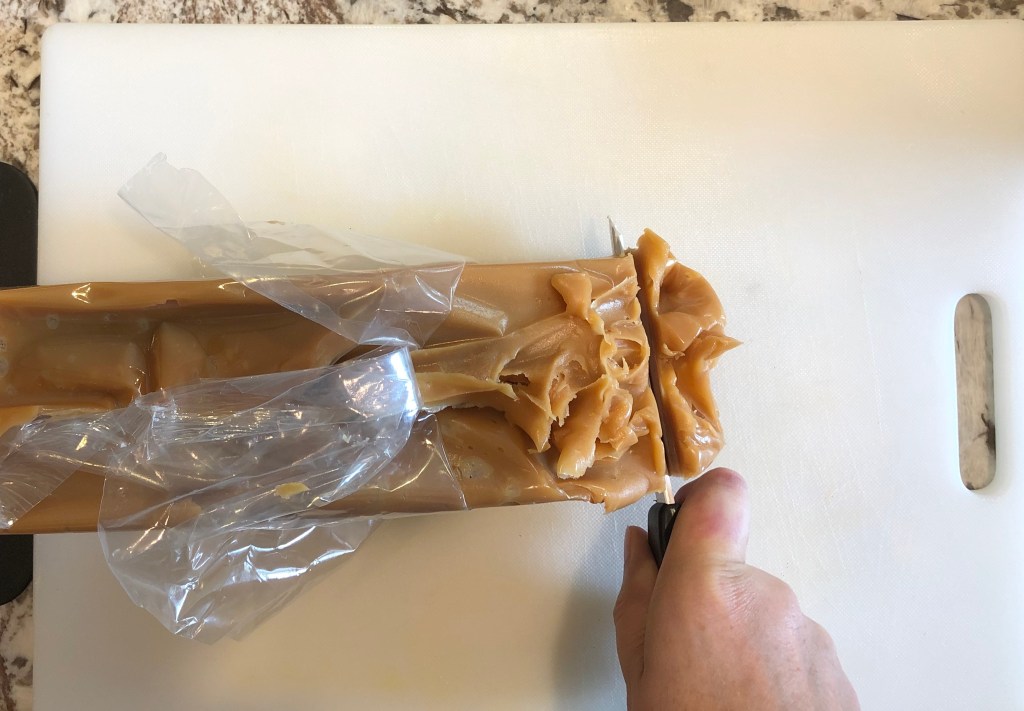
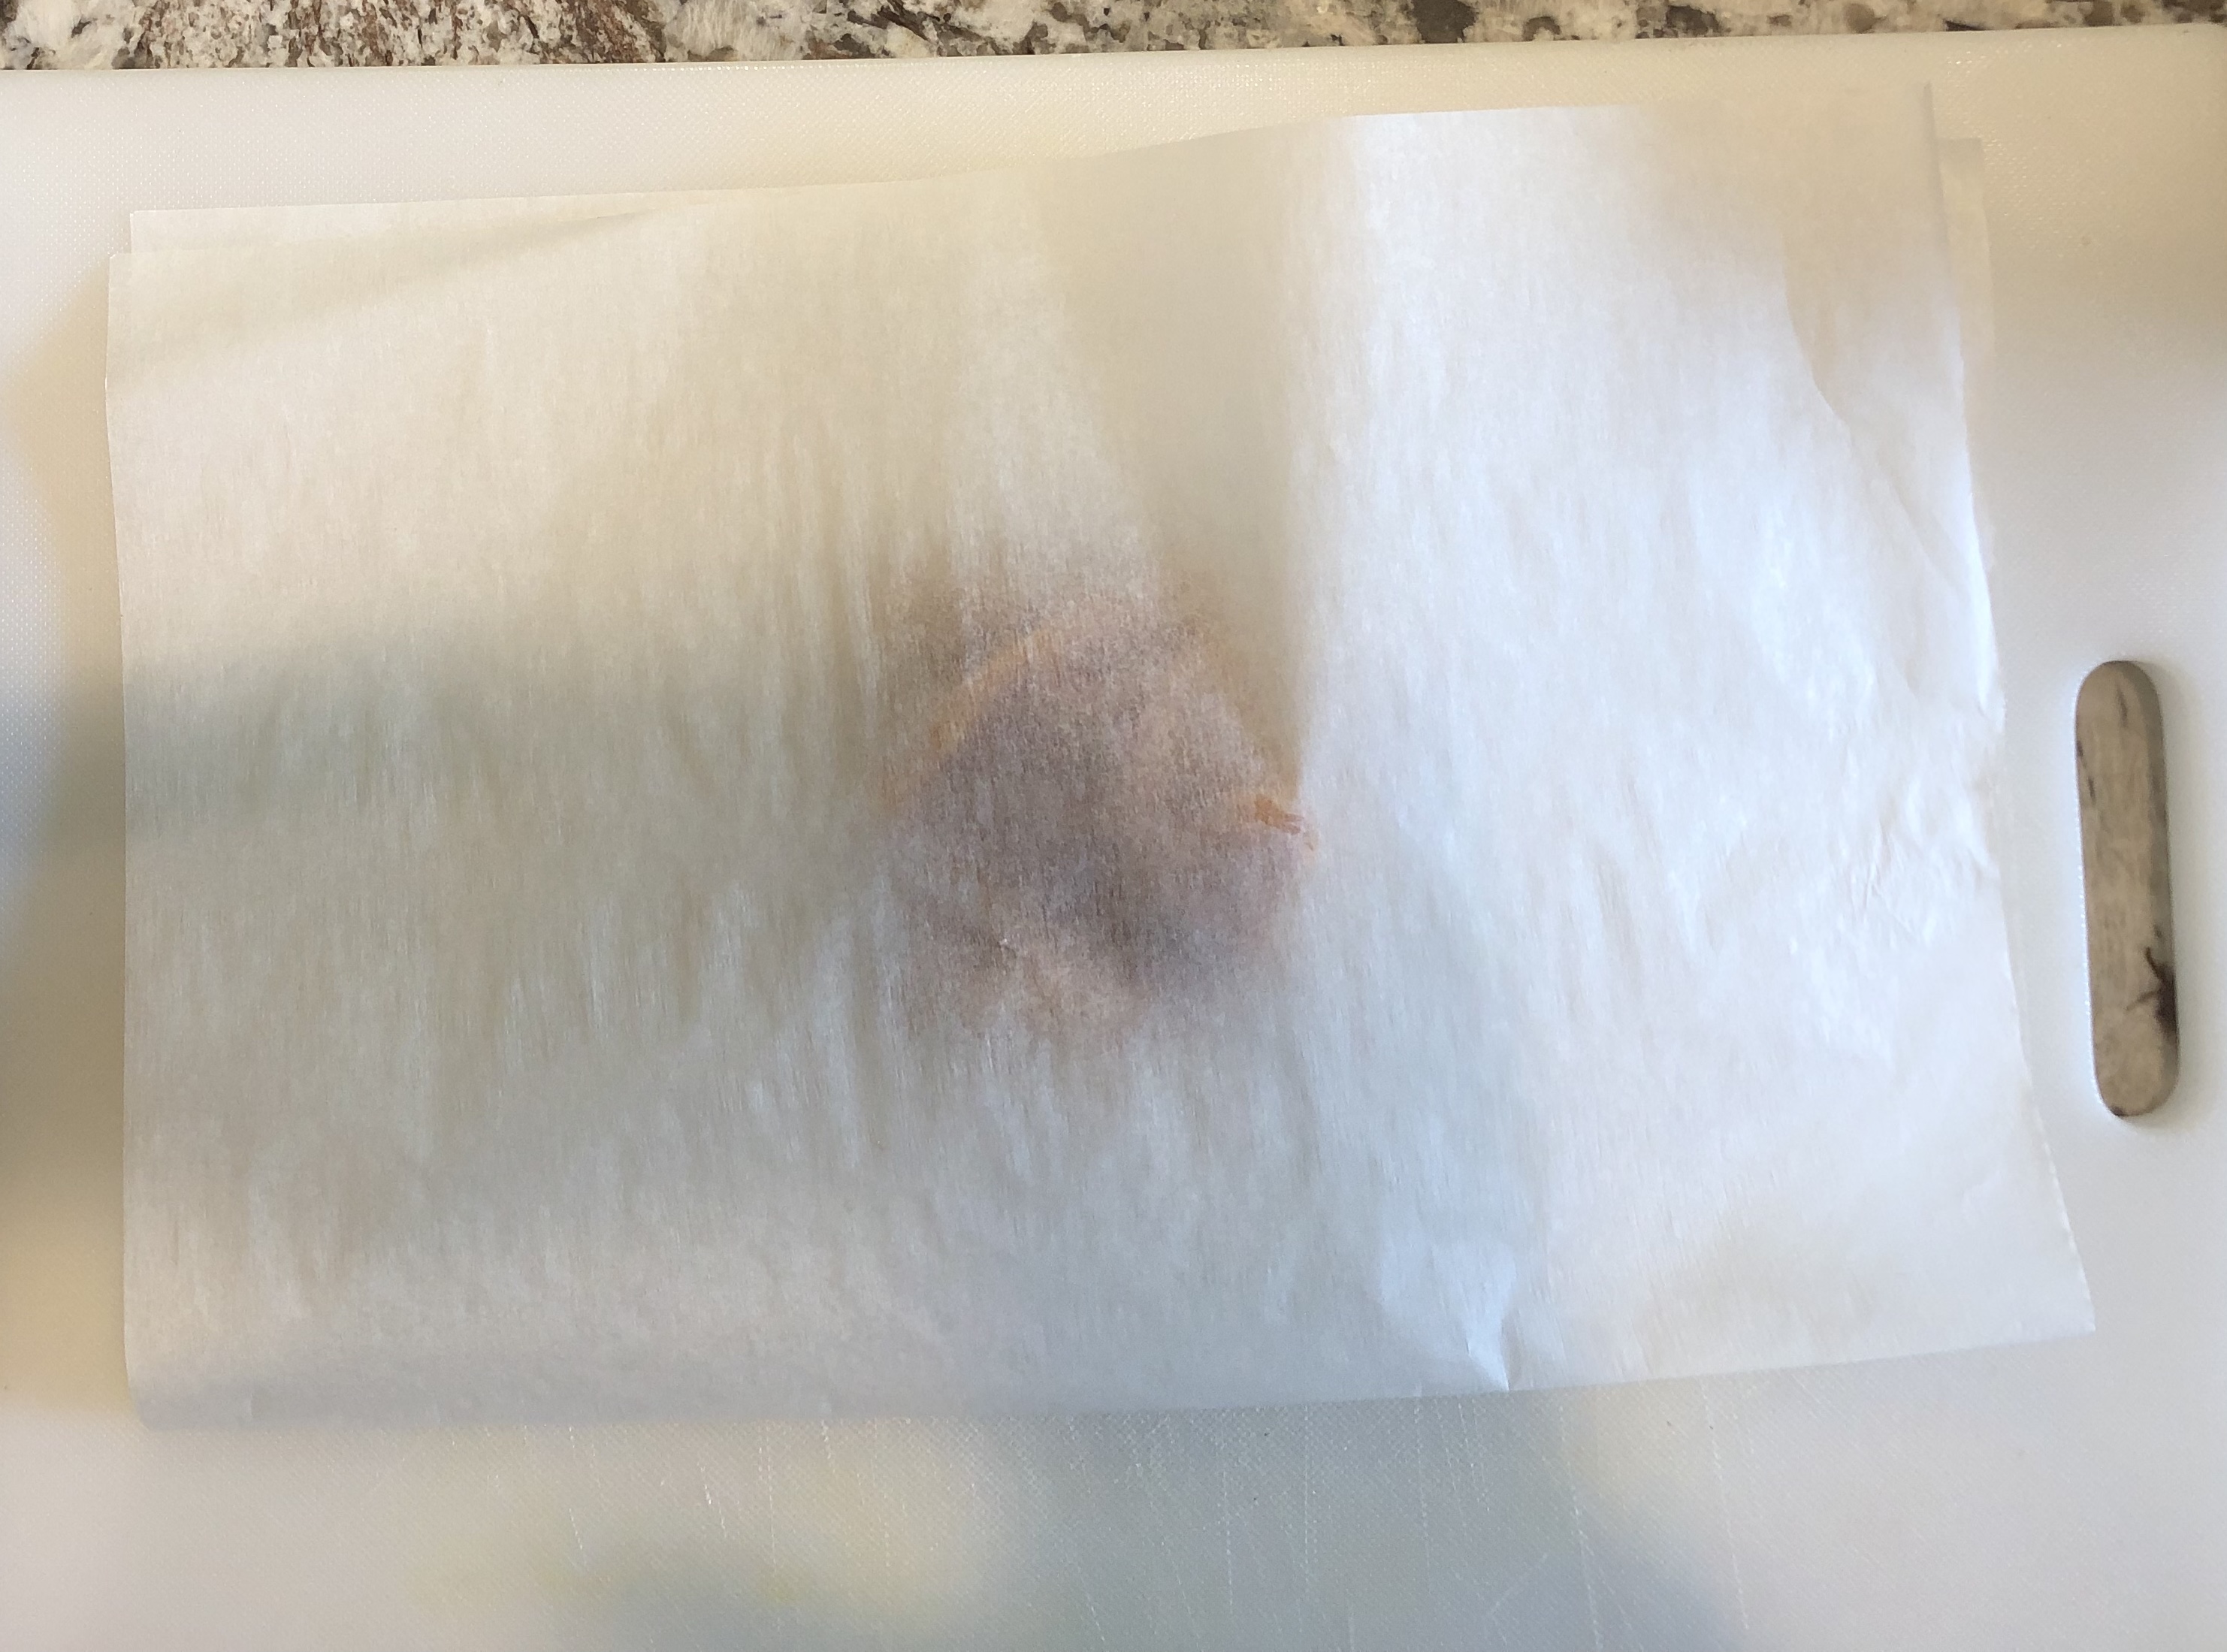
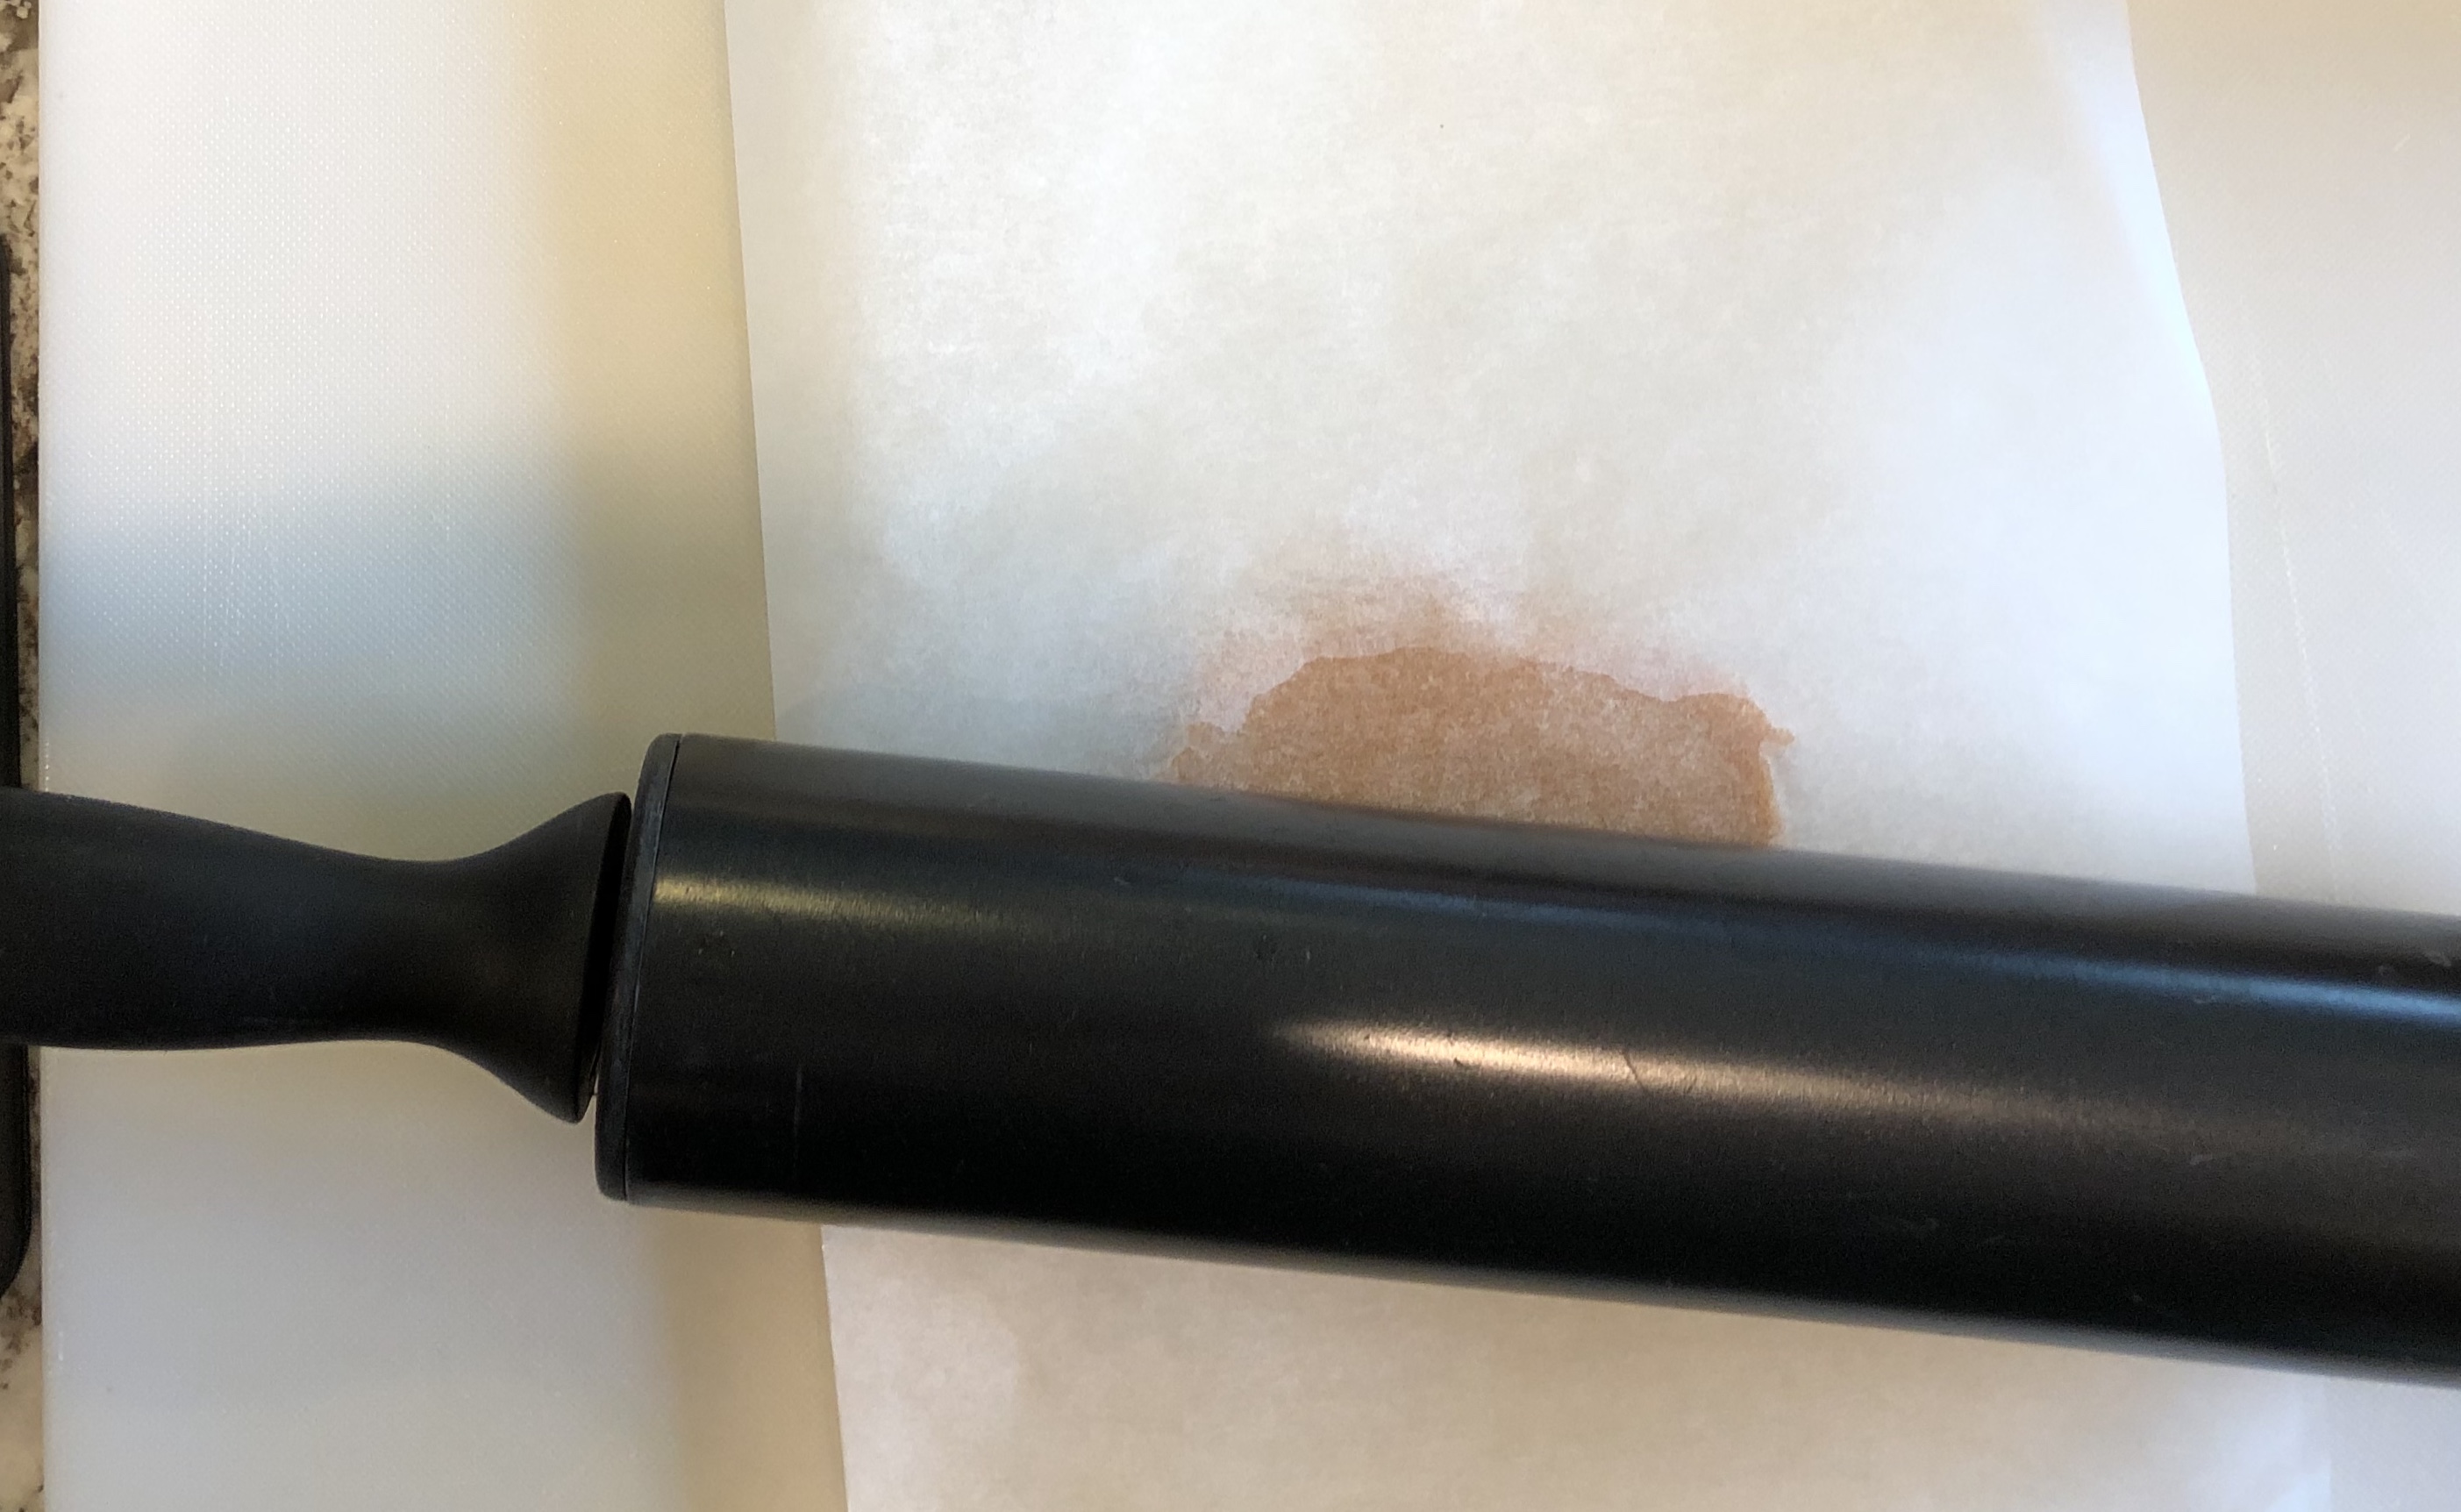
Instead, I portion just enough caramel for one apple (I cut about 1/4 inch of caramel from the loaf – this is between 60-75 g of caramel). I place the caramel between two sheets of parchment paper and microwave for 8 seconds on 50% power – just long enough to make the caramel malleable, but not hot. I roll the caramel into a rough circle about 1/8 inch thick, and place it in the refrigerator for a few minutes to cool.
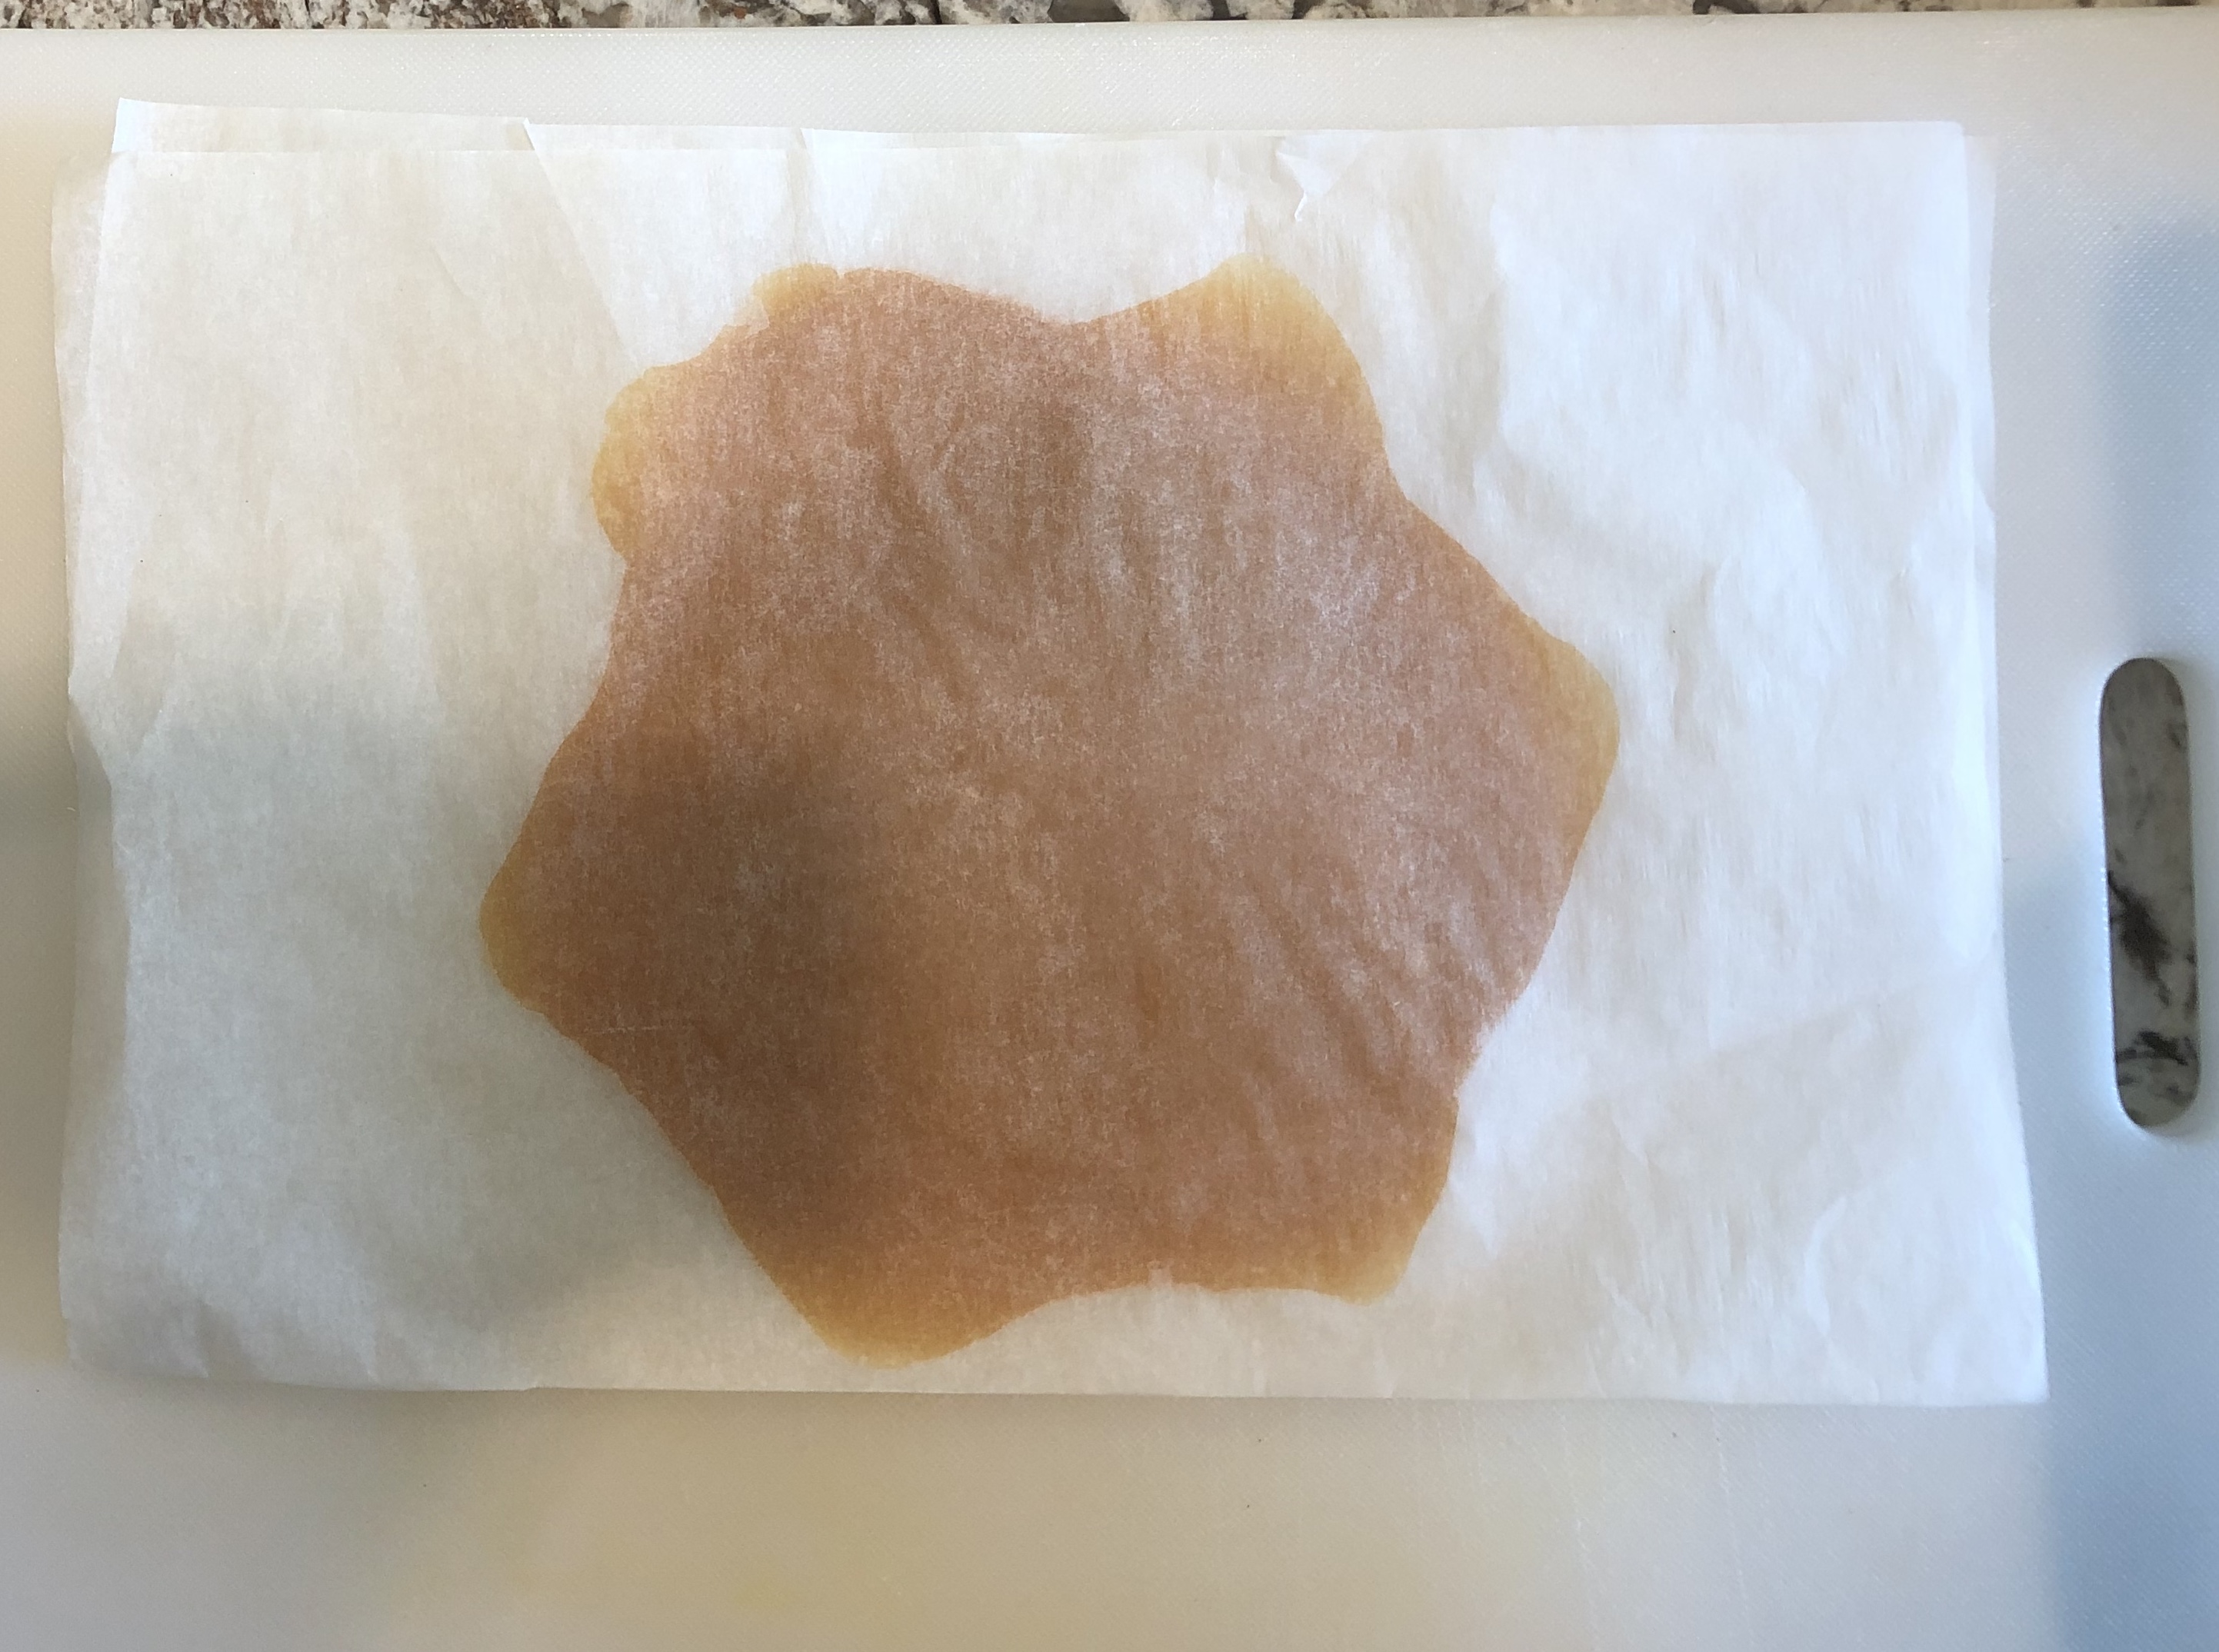

Essentially, I’m making my own caramel wrap and there is very little wasted caramel in the process. Definitely no hot caramel. Each caramel circle is then wrapped around an apple. I place it over the stick, but you could easily wrap the apple and then place the stick into the apple. I use gloved hands to move and smooth the caramel around the apple. I pinch the caramel together at the bottom of the apple.


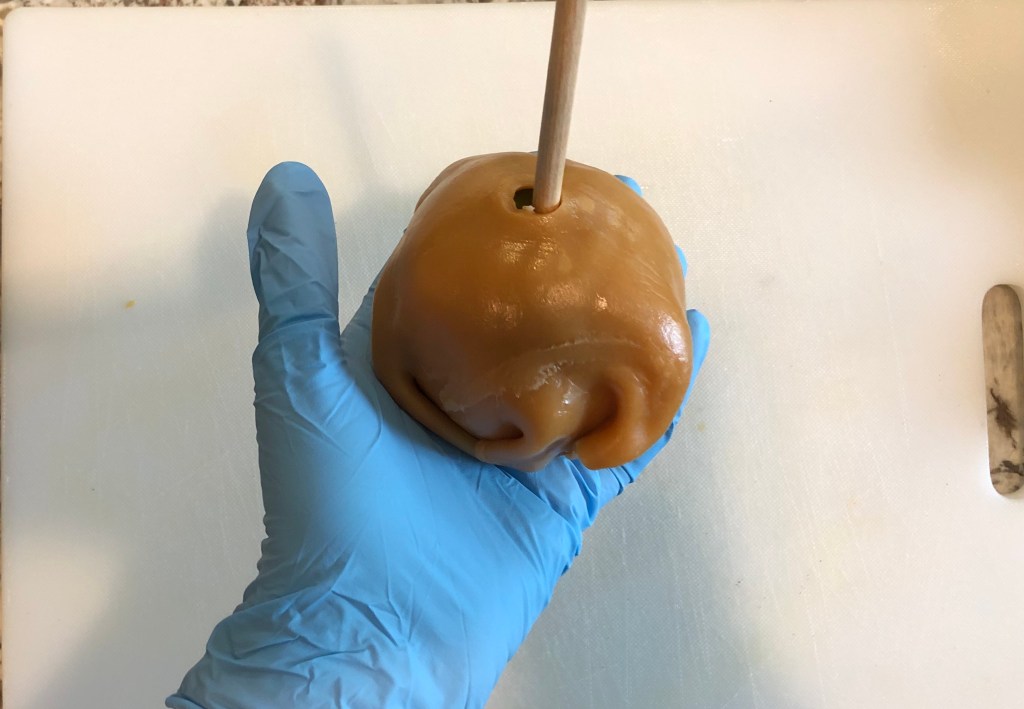

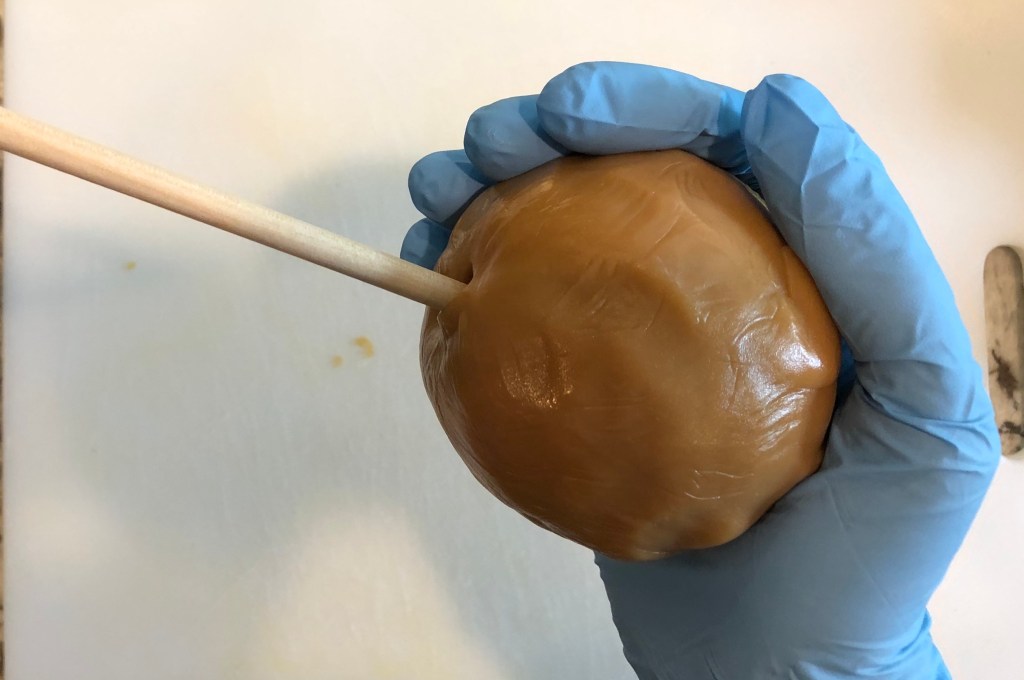
After coating the apple with caramel, I leave them at room temperature. The caramel will smooth out, and the wrinkles on the surface will disappear.
Third simplification: I don’t dip the apples in the chocolate. Dipping anything in the chocolate is always risky as you can loose the temper if the dipped item is 1) a different temperature – for example, if it just came out of the refrigerator or freezer, or 2) if it is wet with water – like freshly washed strawberries. Either of these two things will cause both chocolate AND confectioners coating to seize up, but chocolate is especially sensitive. So I avoid dipping altogether.
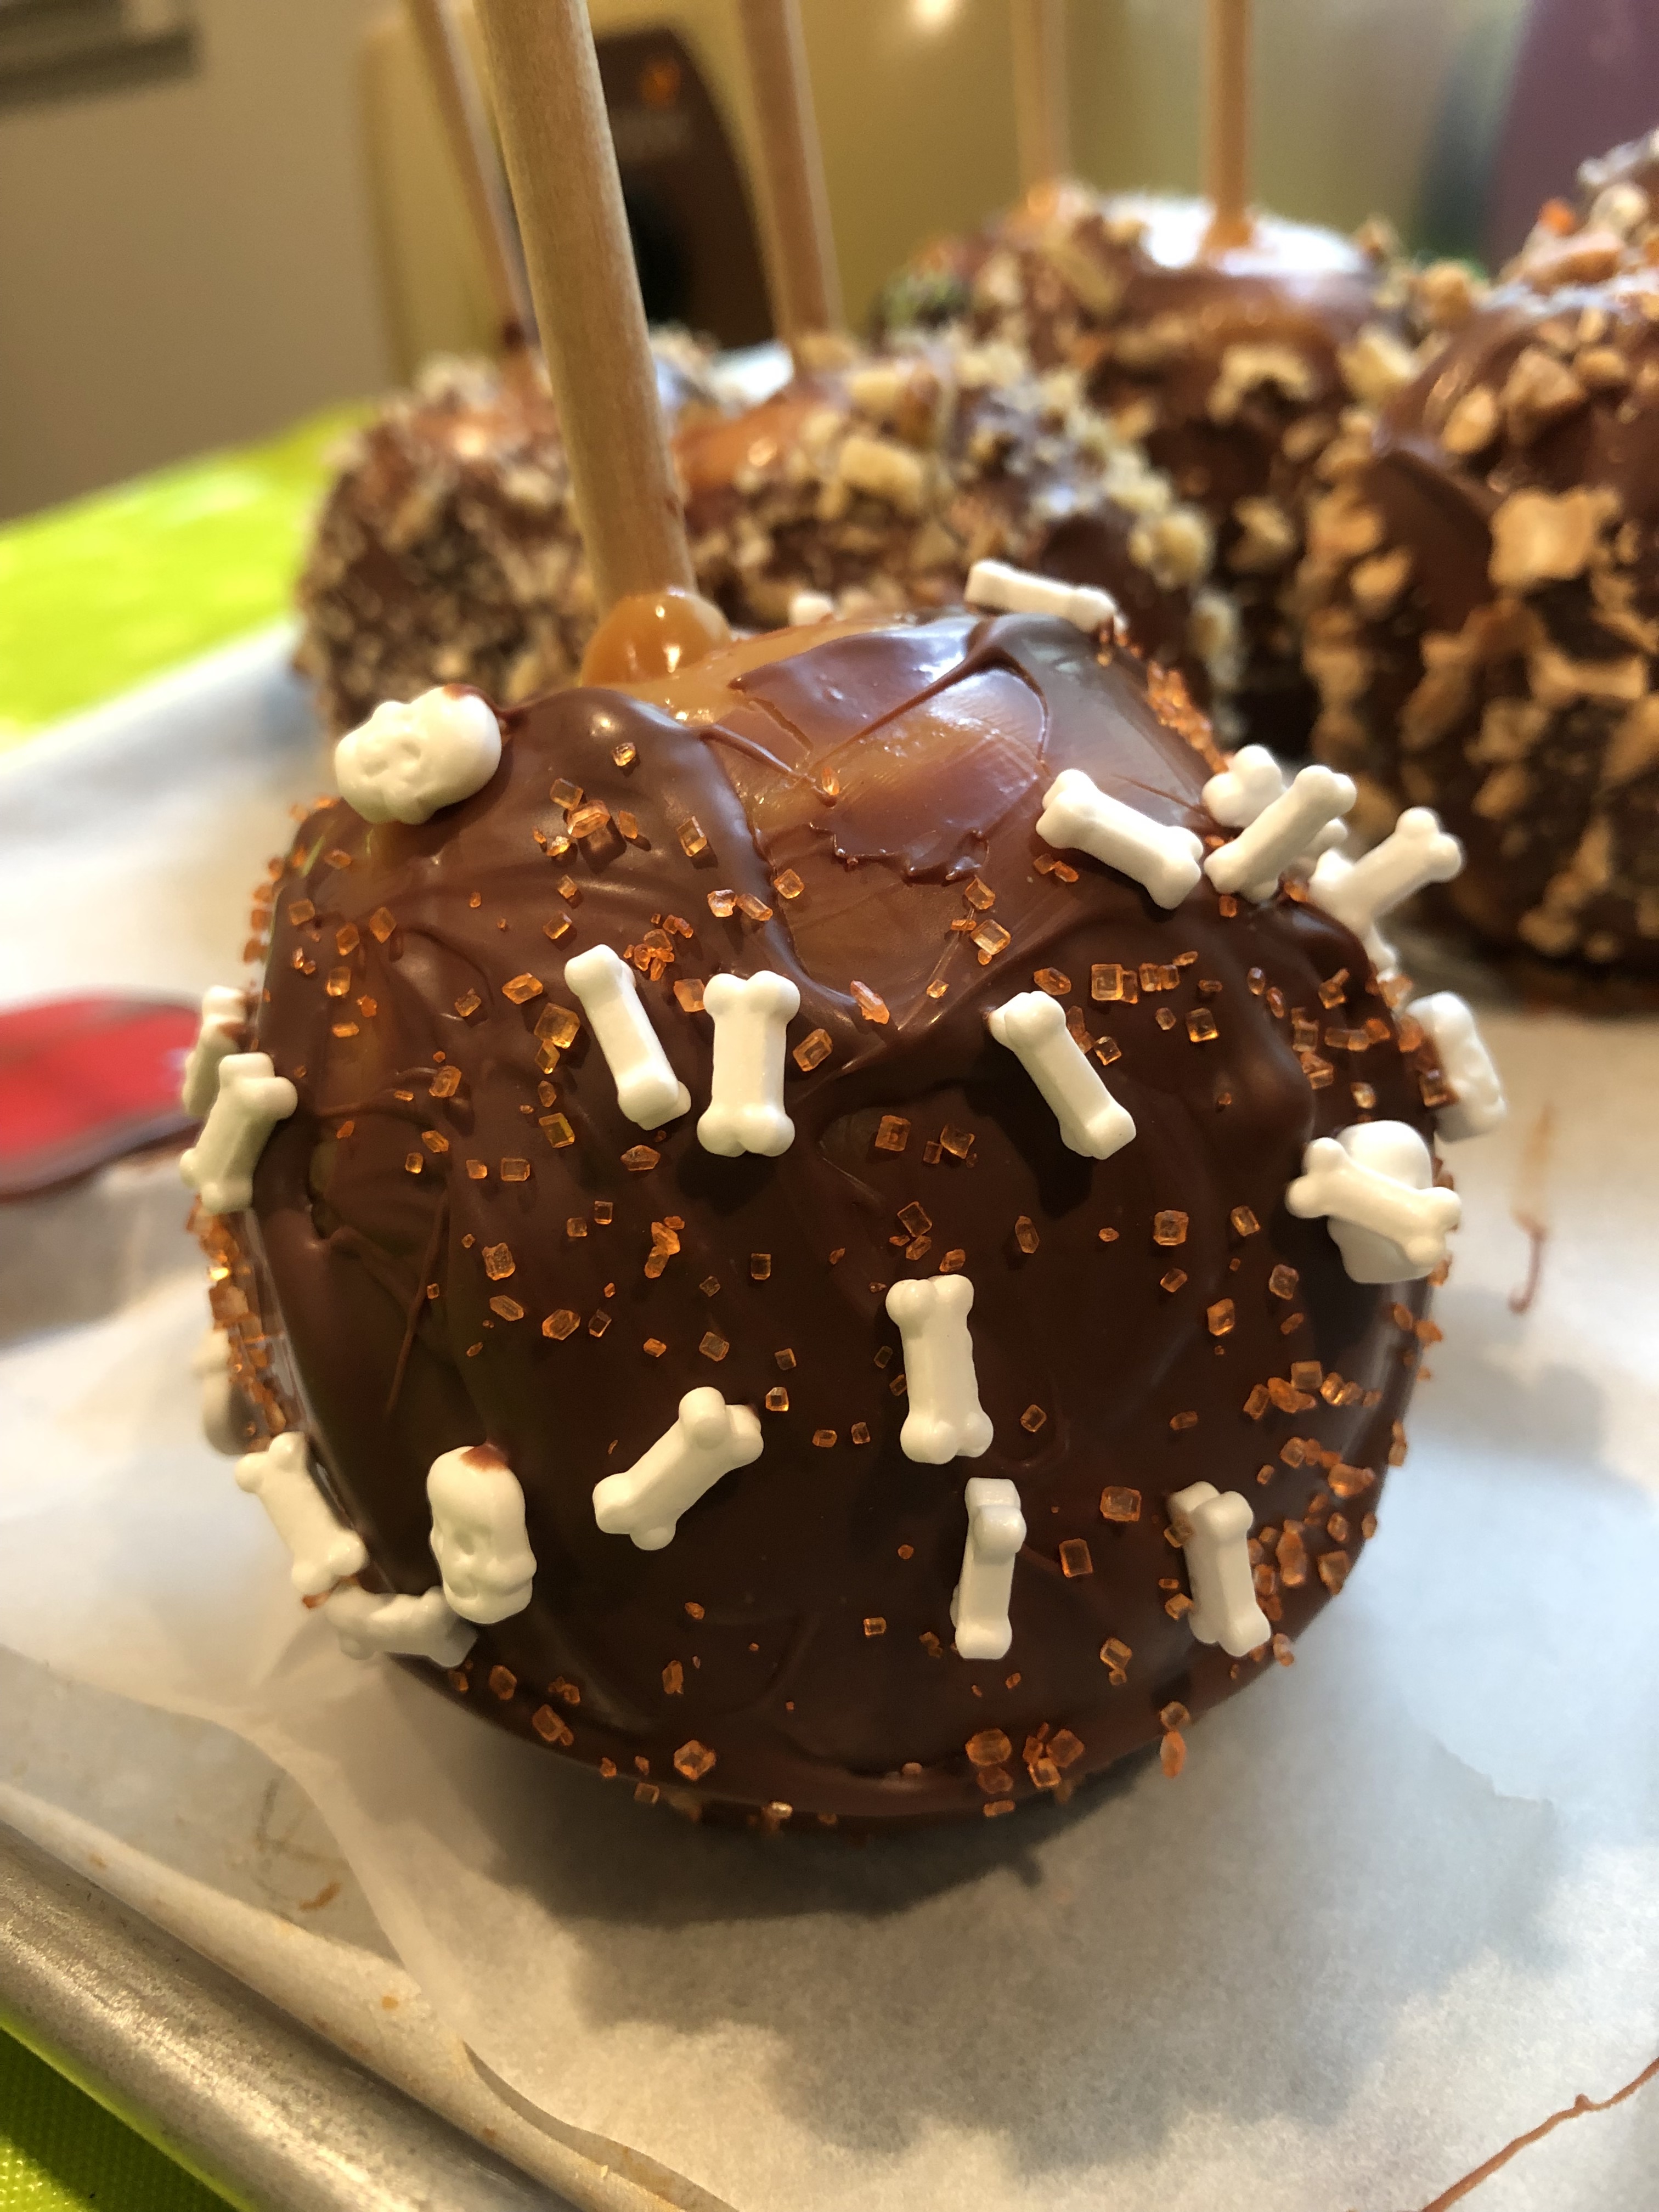
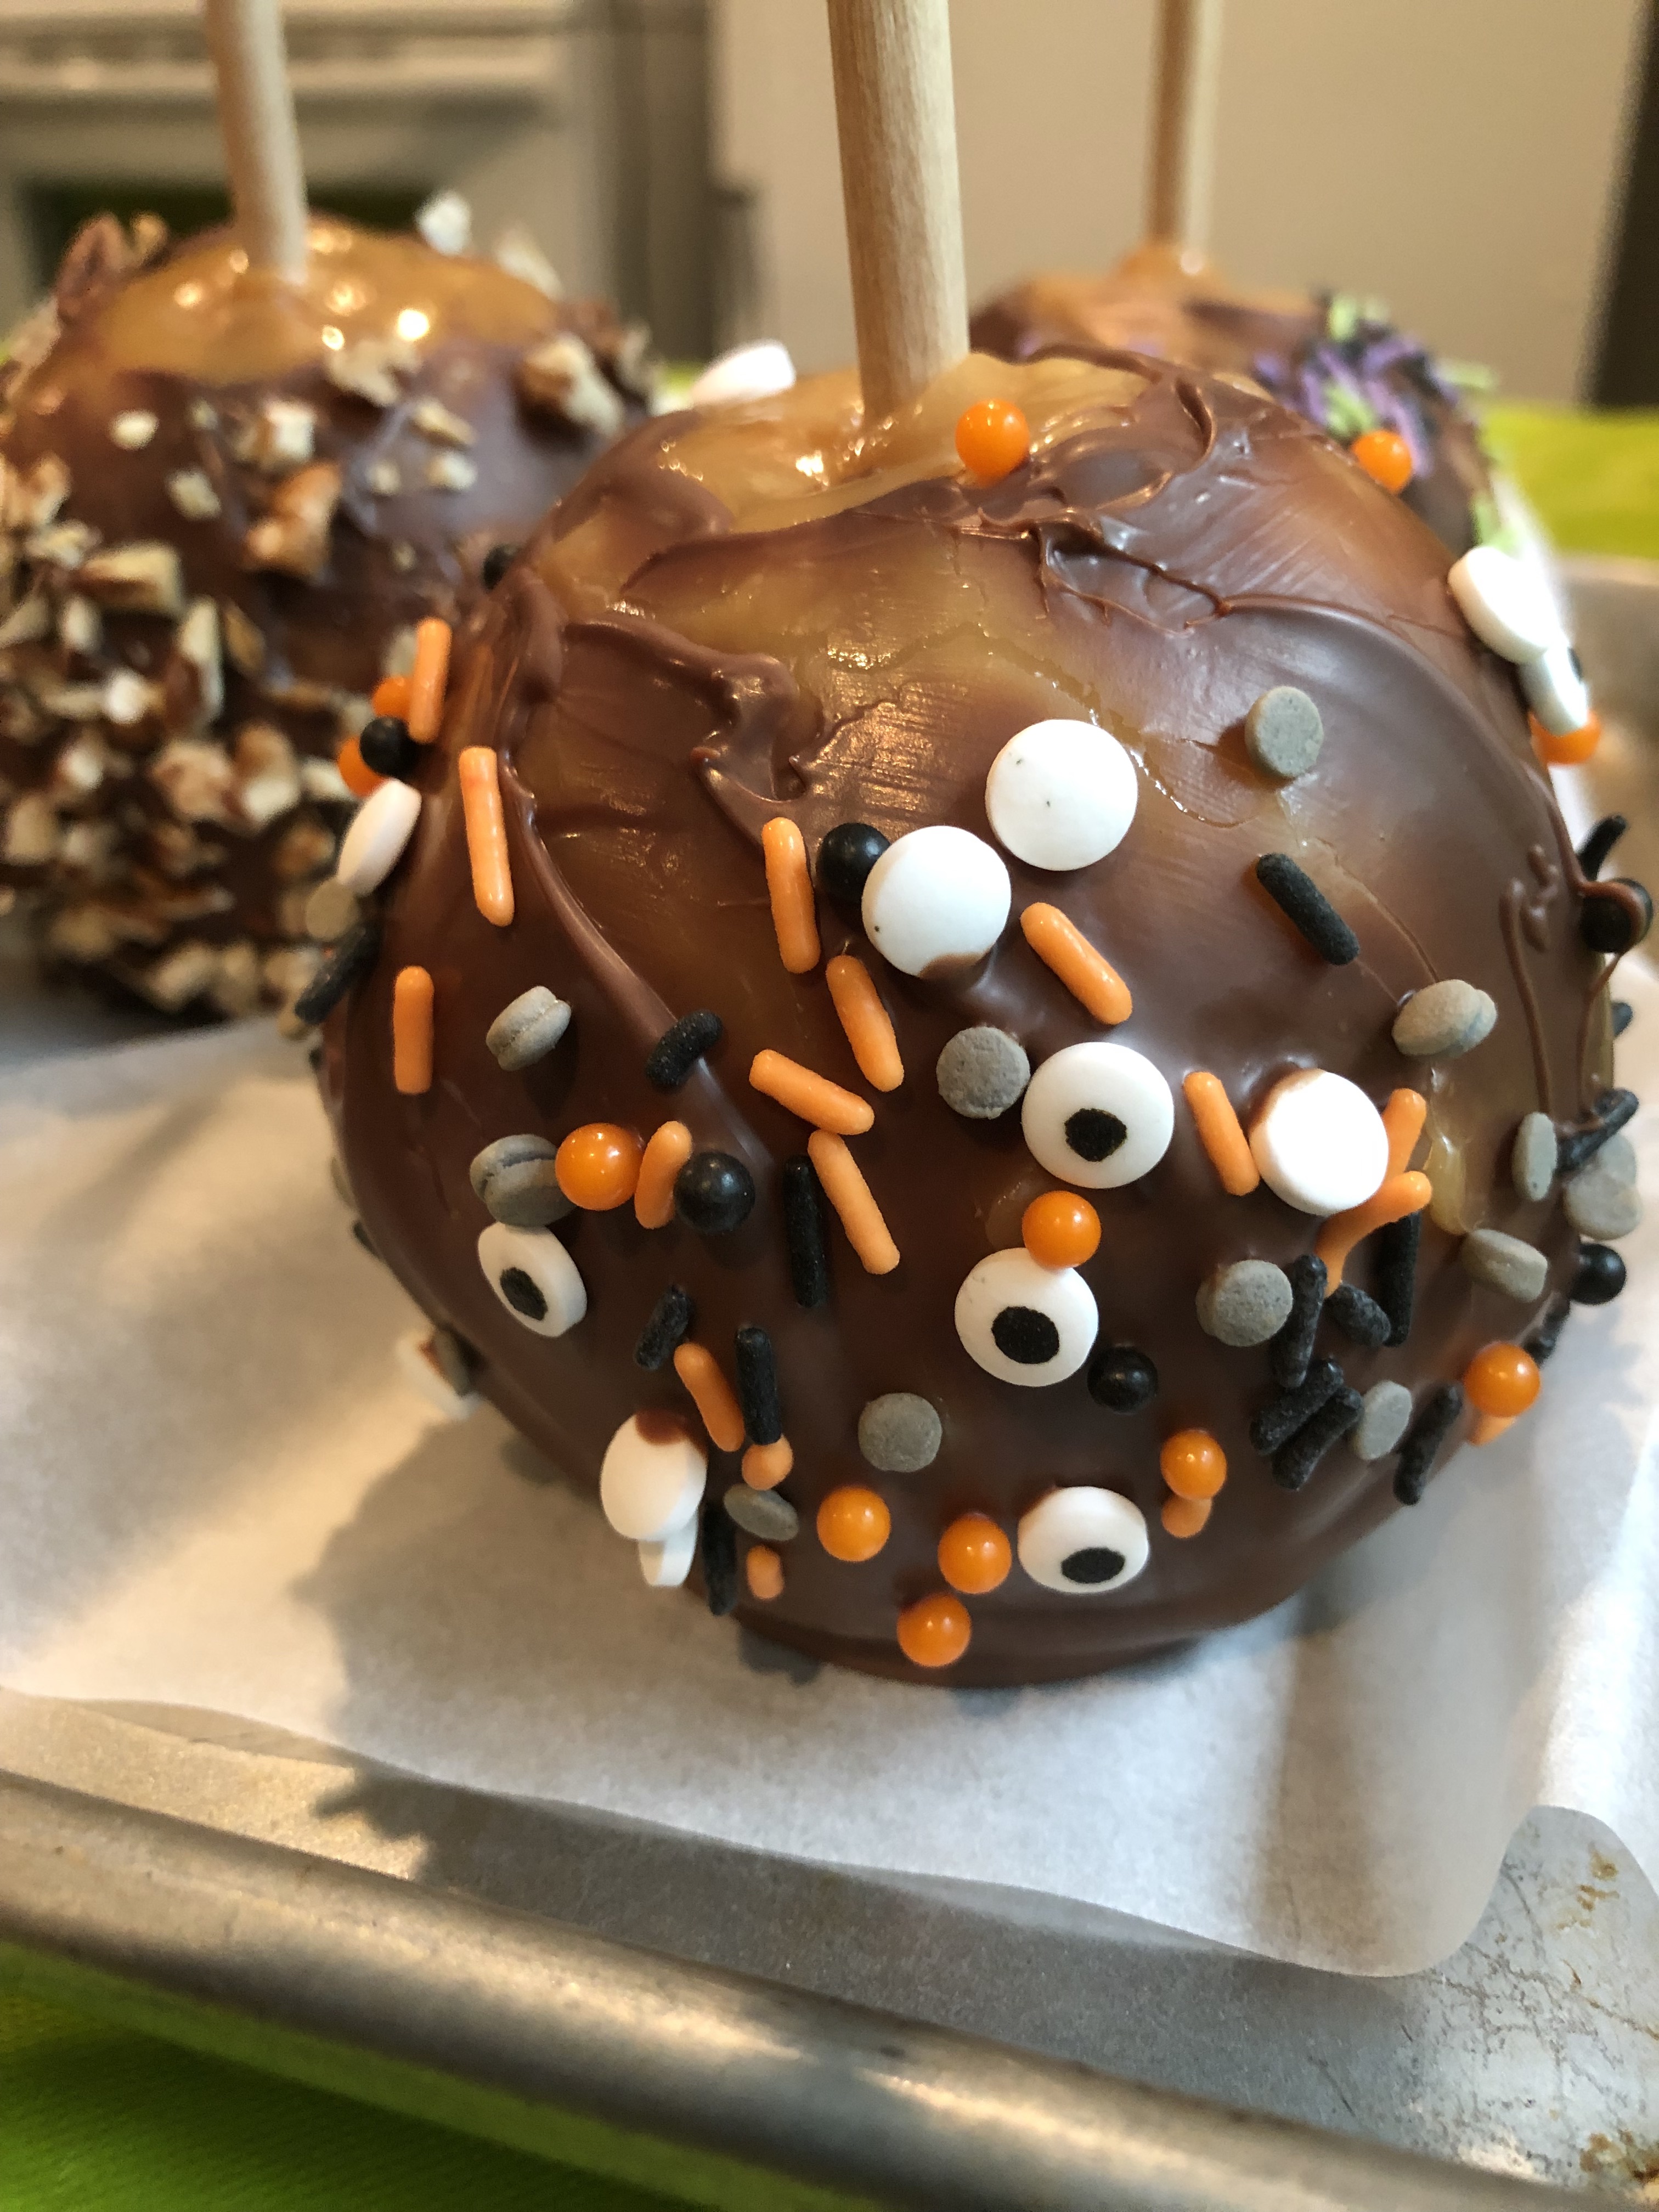
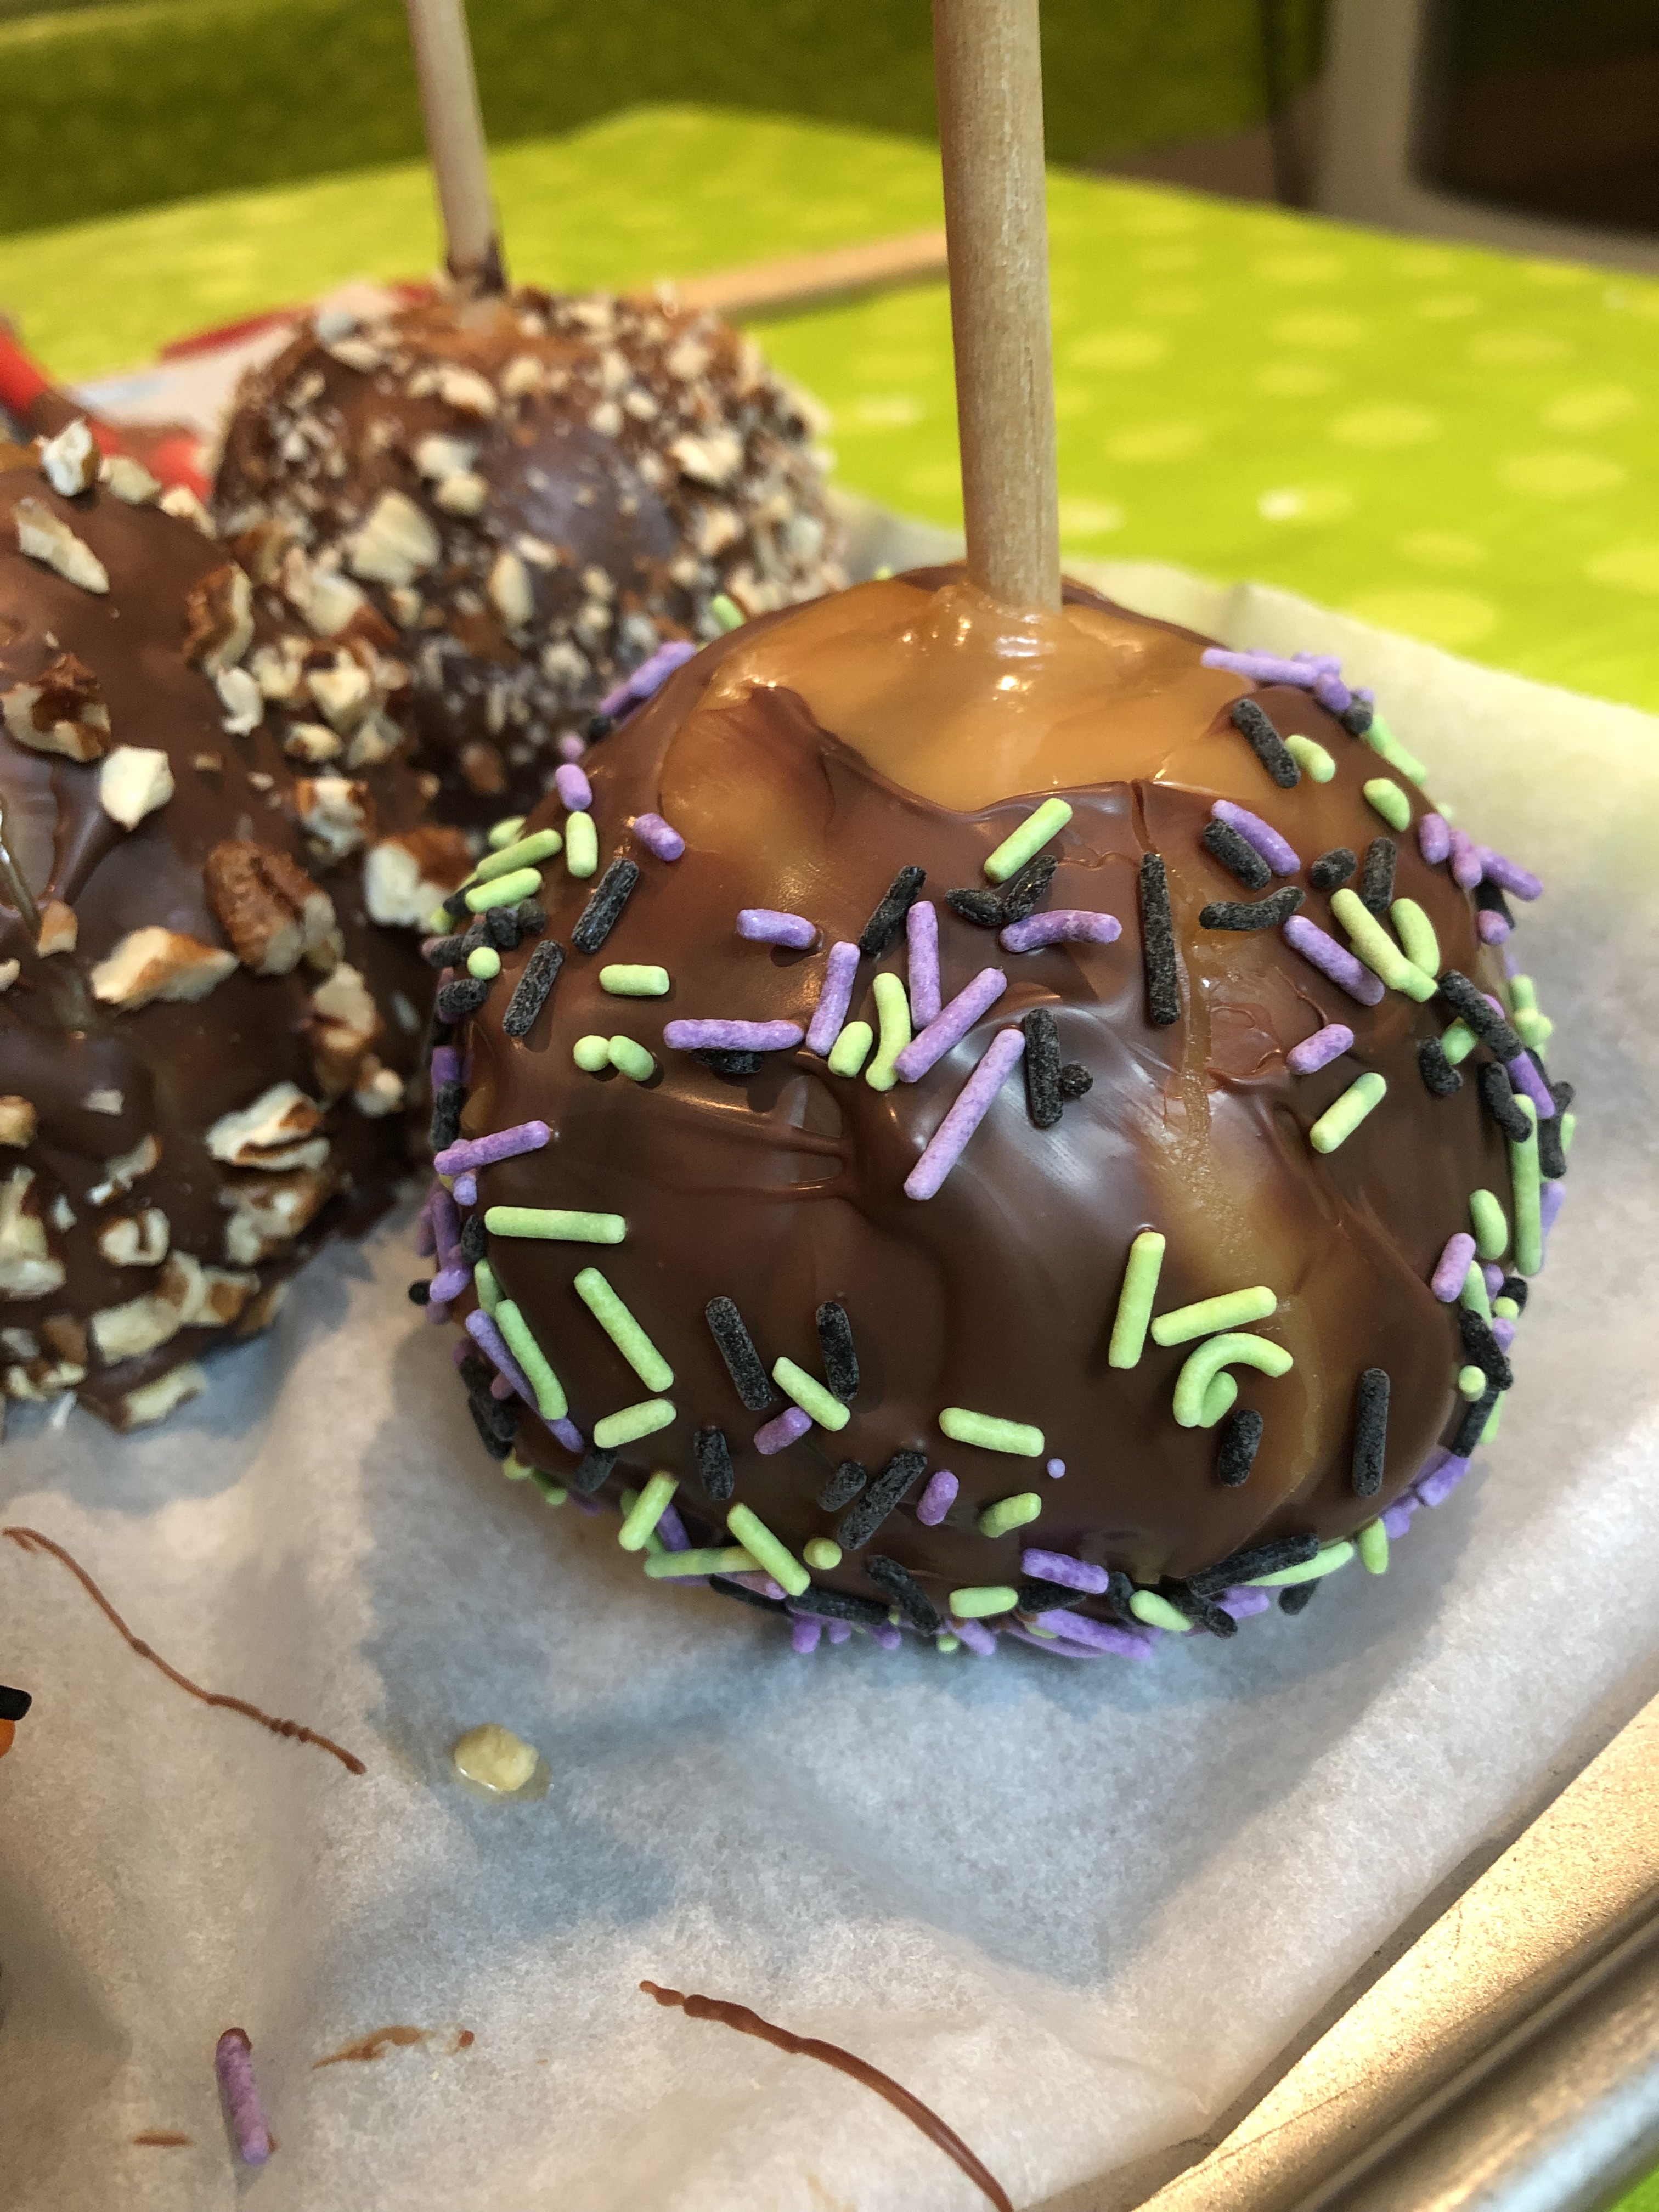
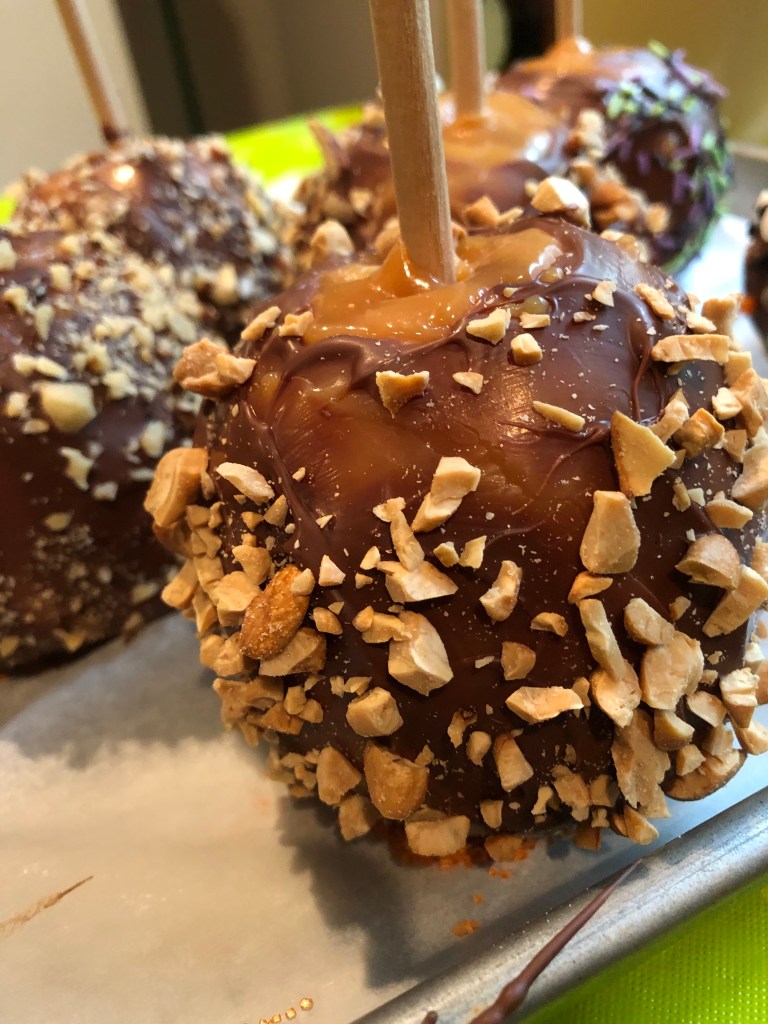
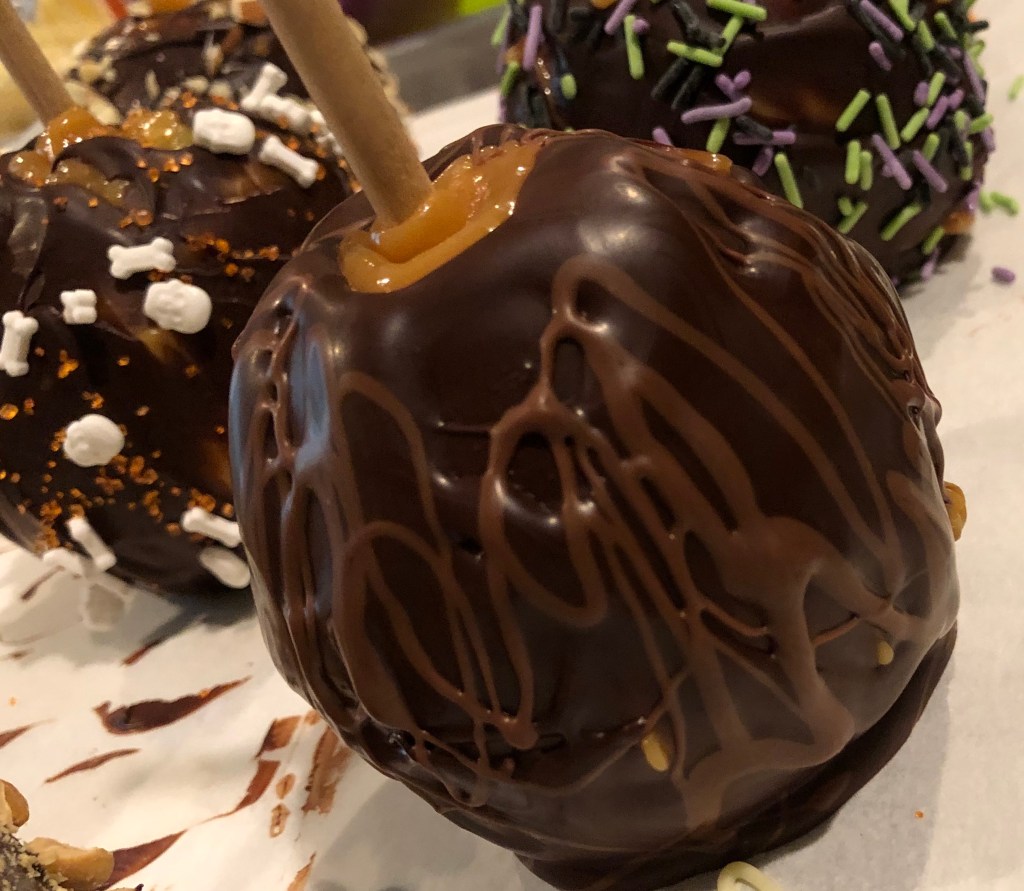
Instead, I carefully apply the chocolate to the apple using a spatula. Sometimes the bottom of the apple will have drops of apple juice on it, especially if the stick is poking all the way through the apple. After carefully inspecting the apple and removing any obvious liquid, I apply the chocolate to the apple. I typically hold the apple over the melted chocolate so any drips go right back into the melted chocolate and very little, if any, chocolate is wasted. If you dip the apple in the chocolate, it takes a long time and a lot of shaking for the excess chocolate to drip off. If you don’t wait long enough, the excess chocolate on the apple will slowly move down the apple and eventually form a large “foot” at the base of the apple. Unsightly, but still delicious.
By placing the chocolate on with a spatula, I can control the amount of chocolate that is applied. The chocolate also begins to set up and holds sprinkles, nuts, and other garnishes better. With more chocolate, the nuts and sprinkles tend to slide off the apple and onto the baking sheet.

Salivating!! lol
LikeLiked by 1 person
I look forward to sharing one every evening! We only have few left, so maybe time to make more…
LikeLike
An interesting process with delicious results!
LikeLiked by 1 person
Thanks! It’s definitely not as difficult when you don’t use the hot caramel :).
LikeLike
You are awesome and those look delicious! 💗
LikeLiked by 1 person
Thanks! We’ve been trying to limit ourselves to sharing one apple per day. An apple per day is a good thing, right??
LikeLike
How smart! Delicious apples & no burns on you or wasted product. You are the bomb!
LikeLiked by 1 person
Thanks!
LikeLike