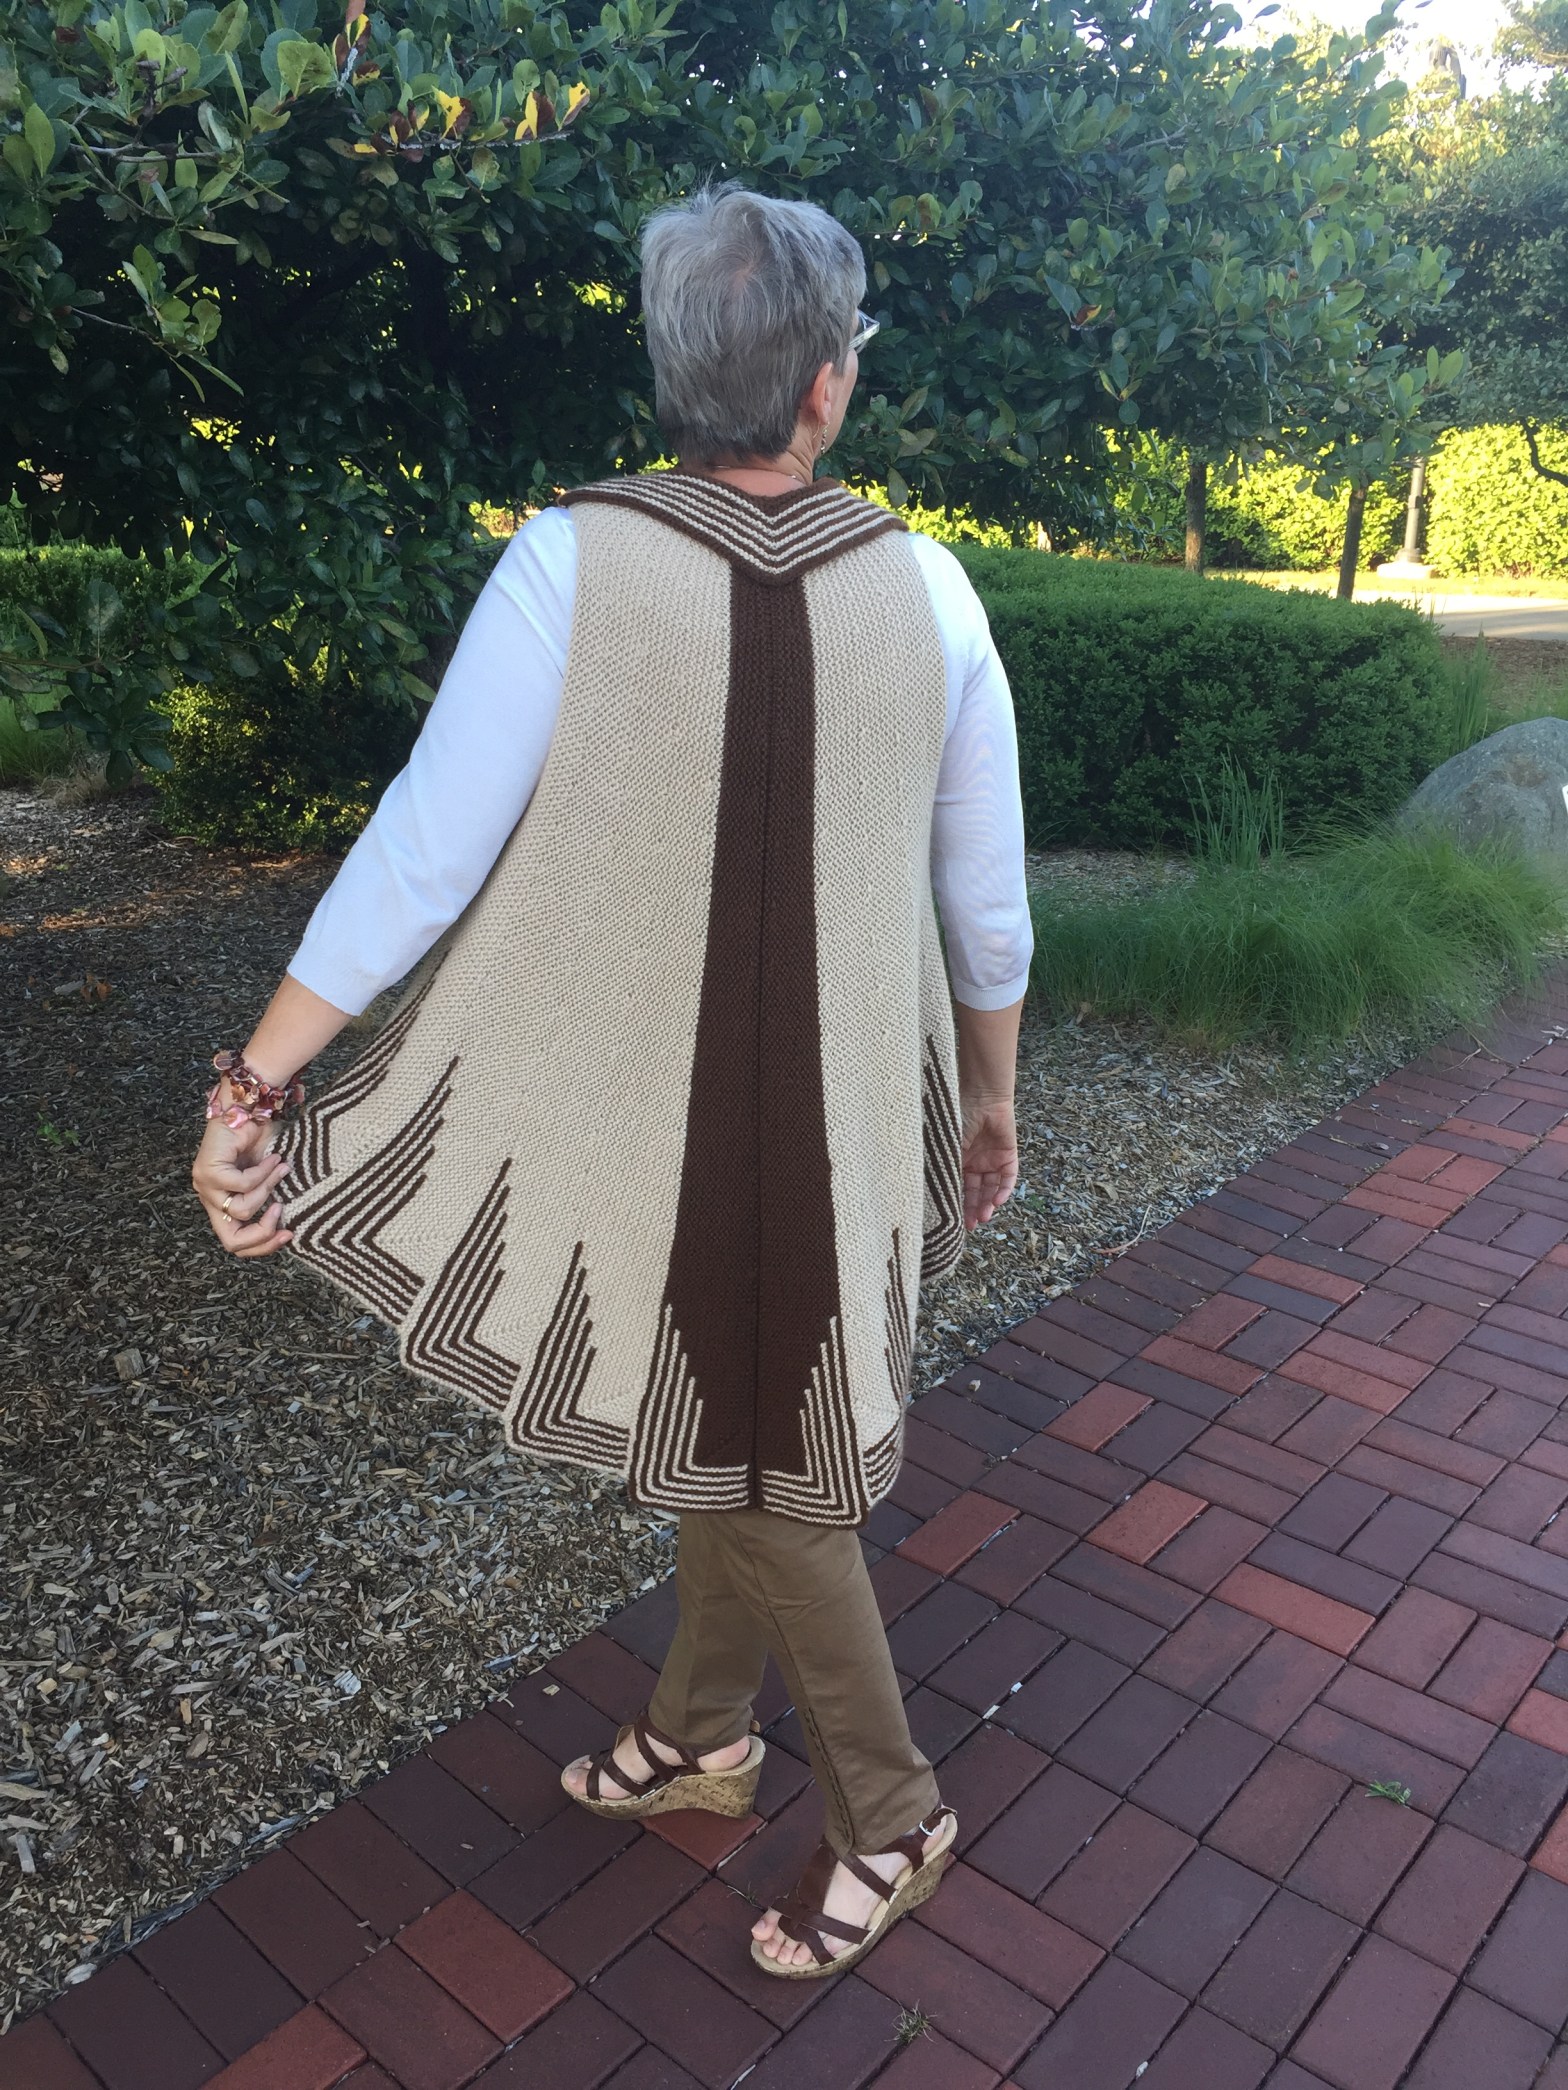
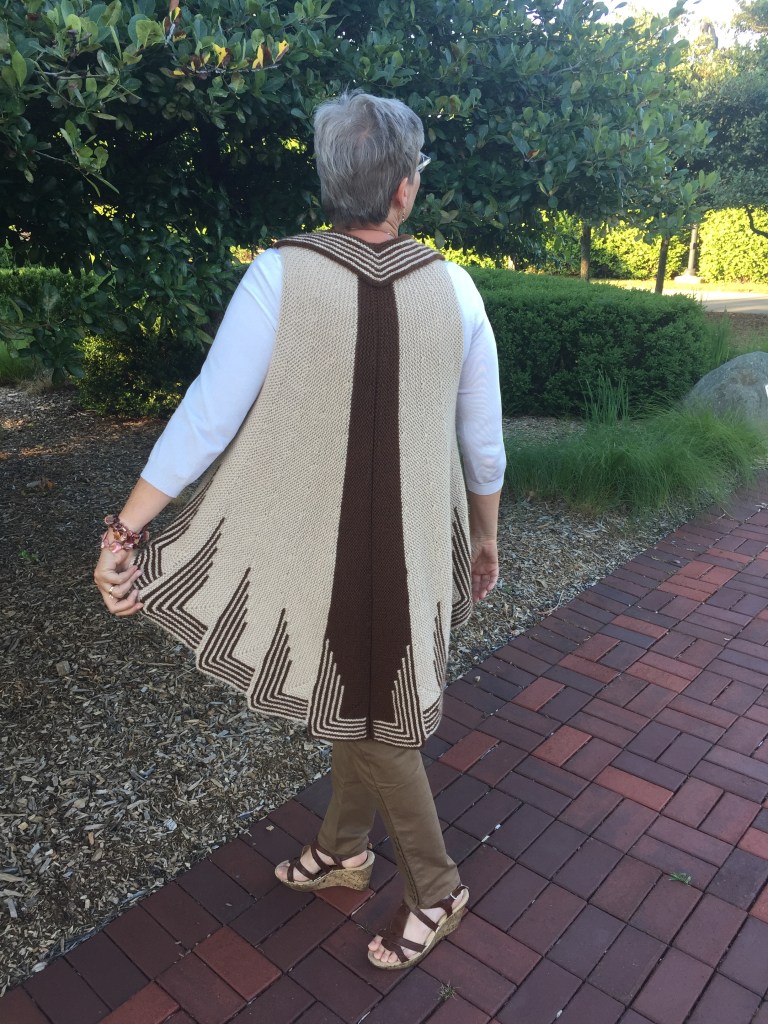
Swing Your Tail Feathers in worsted weight alpaca, garter stitch. Short rows are used to make one side of each connected triangle in this swing vest.
The wrap and turn technique for short rows is similar in garter stitch. There are two parts: 1) working the turn, and 2) working through the turn. Both right side and wrong side are worked the same way, and it is nearly identical to working a wrap and turn in stockinette stitch with the right side facing you. The only difference is in Step 7 below, when you move the yarn to the back side to begin knitting on the wrong side of the piece.
Wrap and Turn: Garter Stitch
Part 1: Working the Turn
Step 1: Work up to the turning point. Step 2: Bring the yarn to the front of the work.Step 3: Transfer the next stitch, purl-wise, from the left needle to the right needle.Step 4: Wrap the yarn around the slipped stitch, bringing it to the back of the work.Step 5: Move the slipped stitch back to the left hand needle.Step 6: Turn the work so that the wrong side is facing you.Step 7: Since we are working in garter stitch, move the yarn to the back of the work, wrapping all the way around the stitch.Knit to the end of the row or until the next turn.
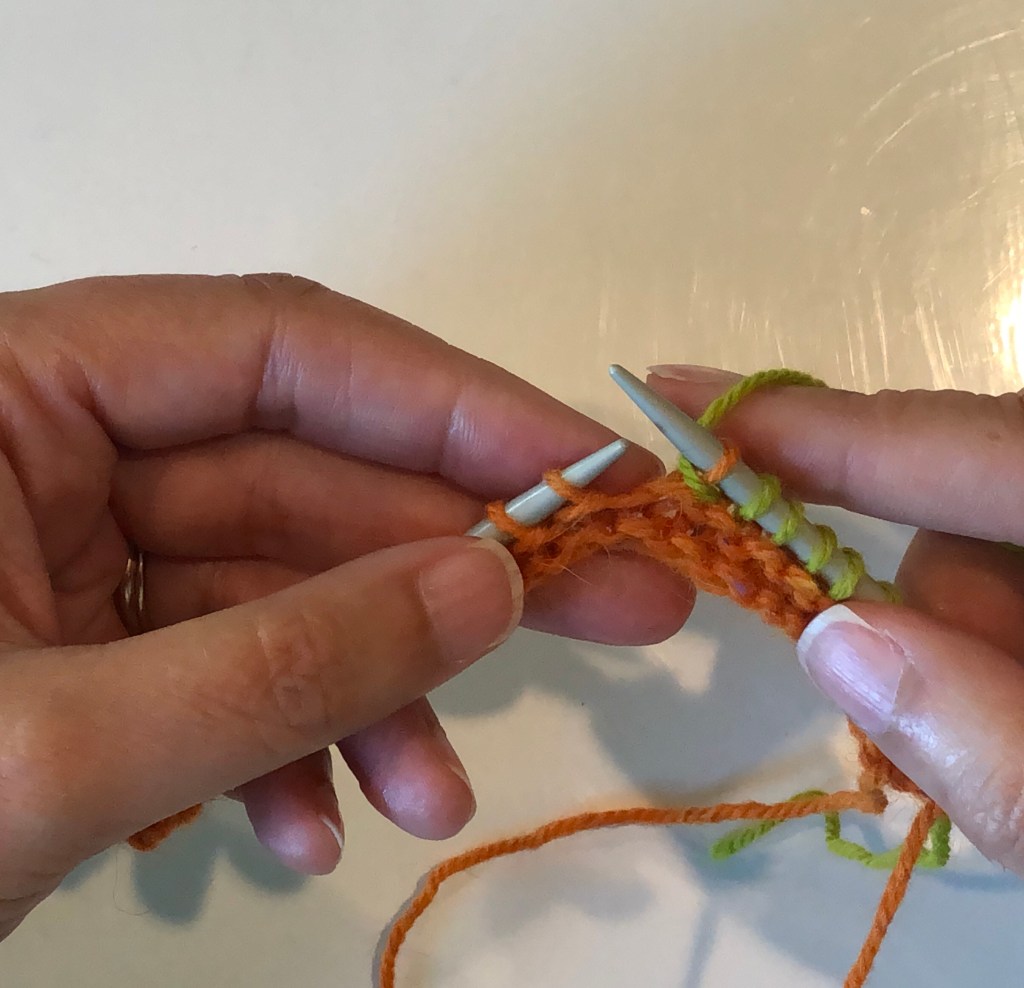
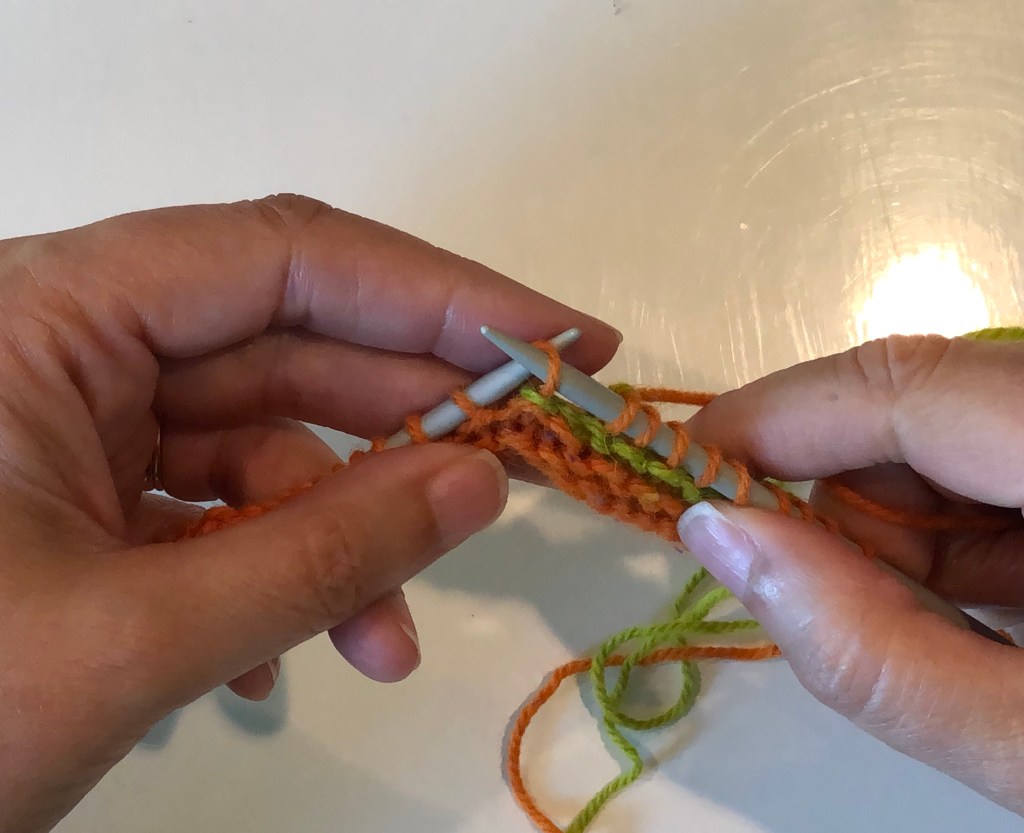
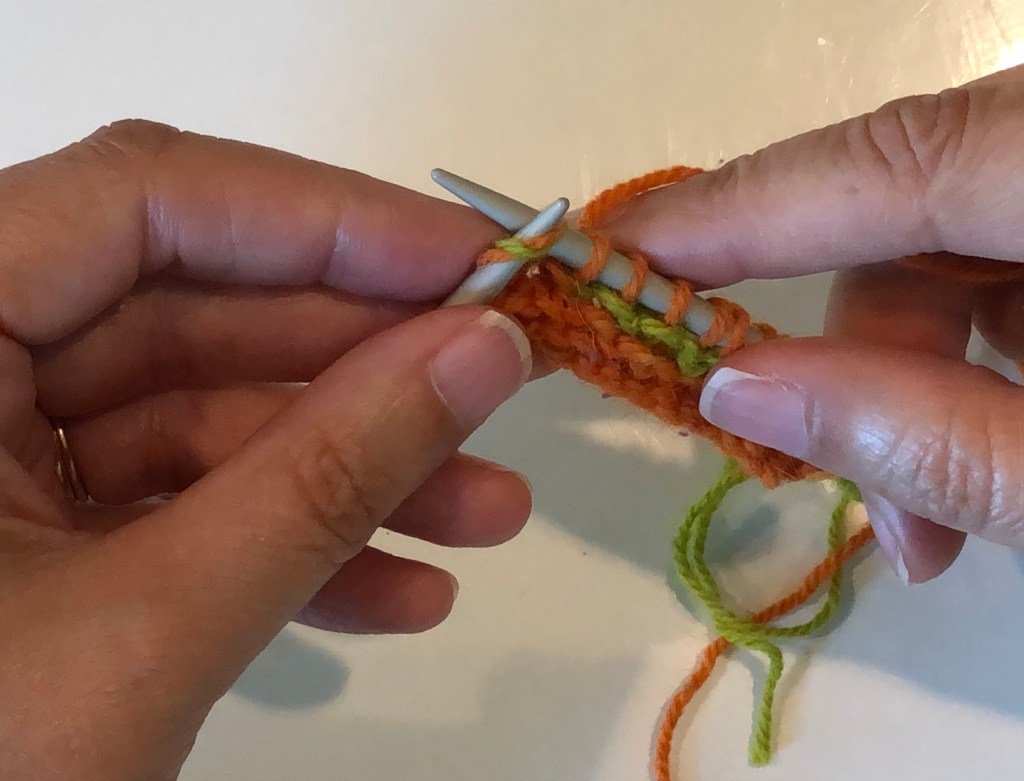
Working Through the Turn
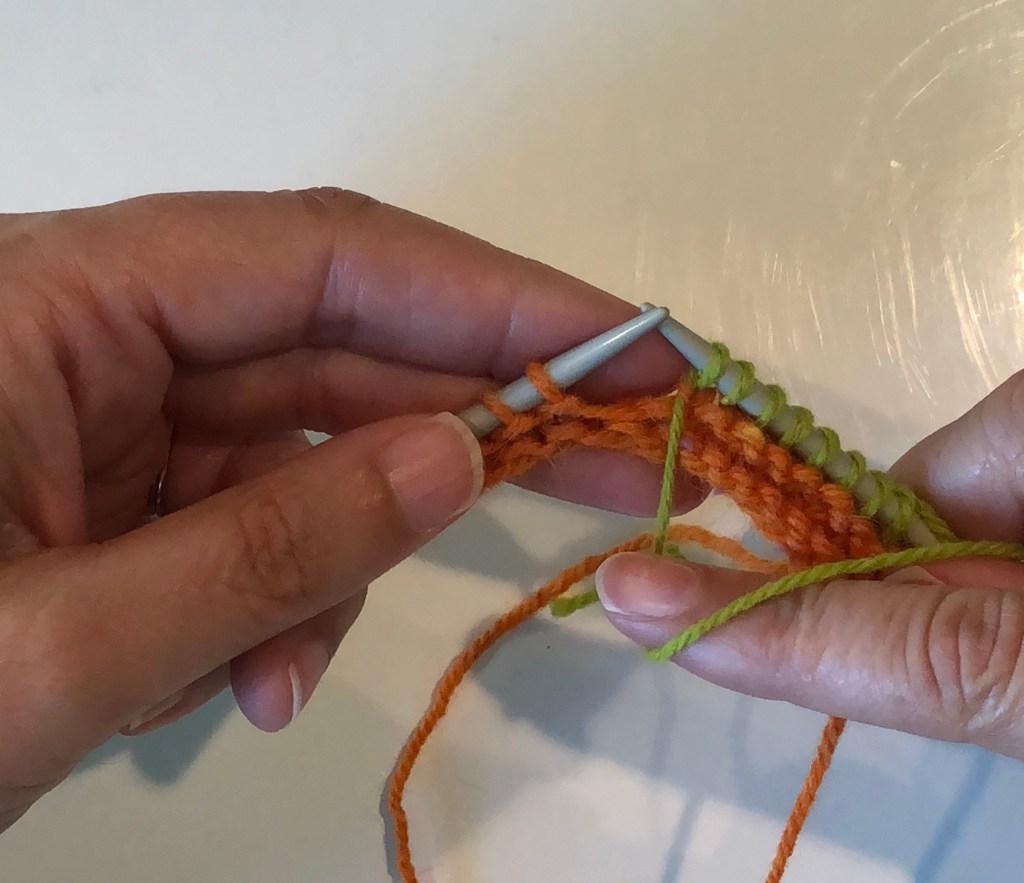
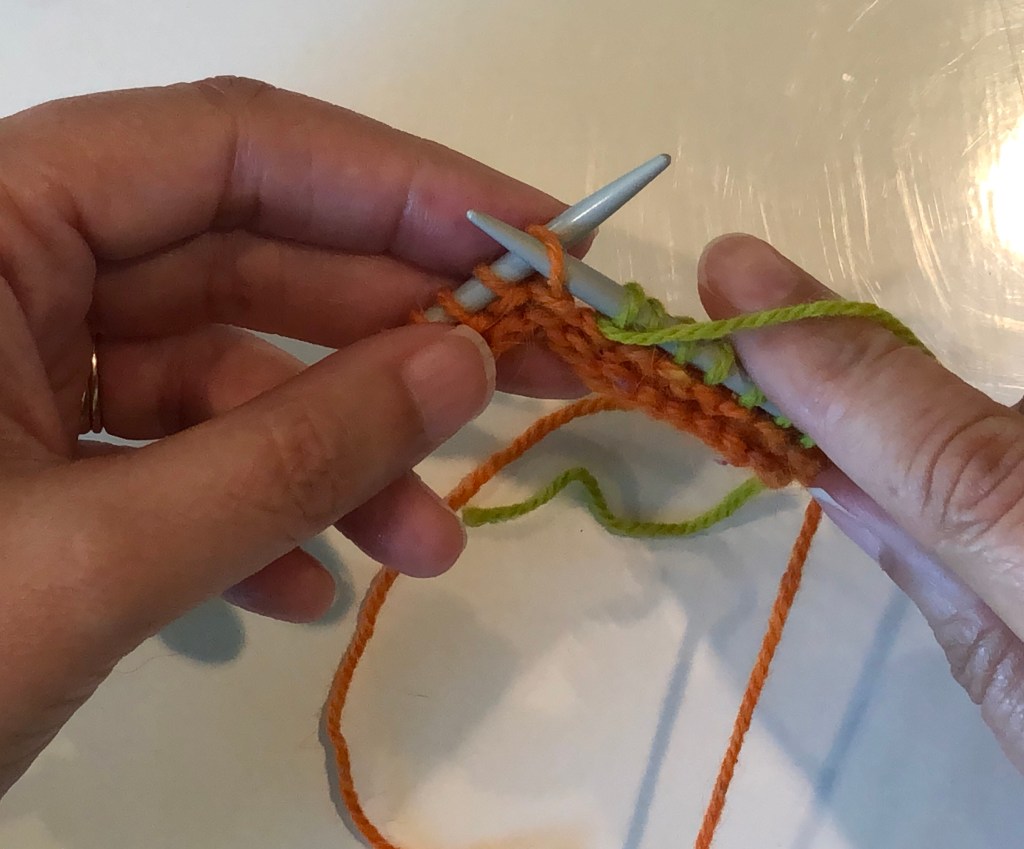
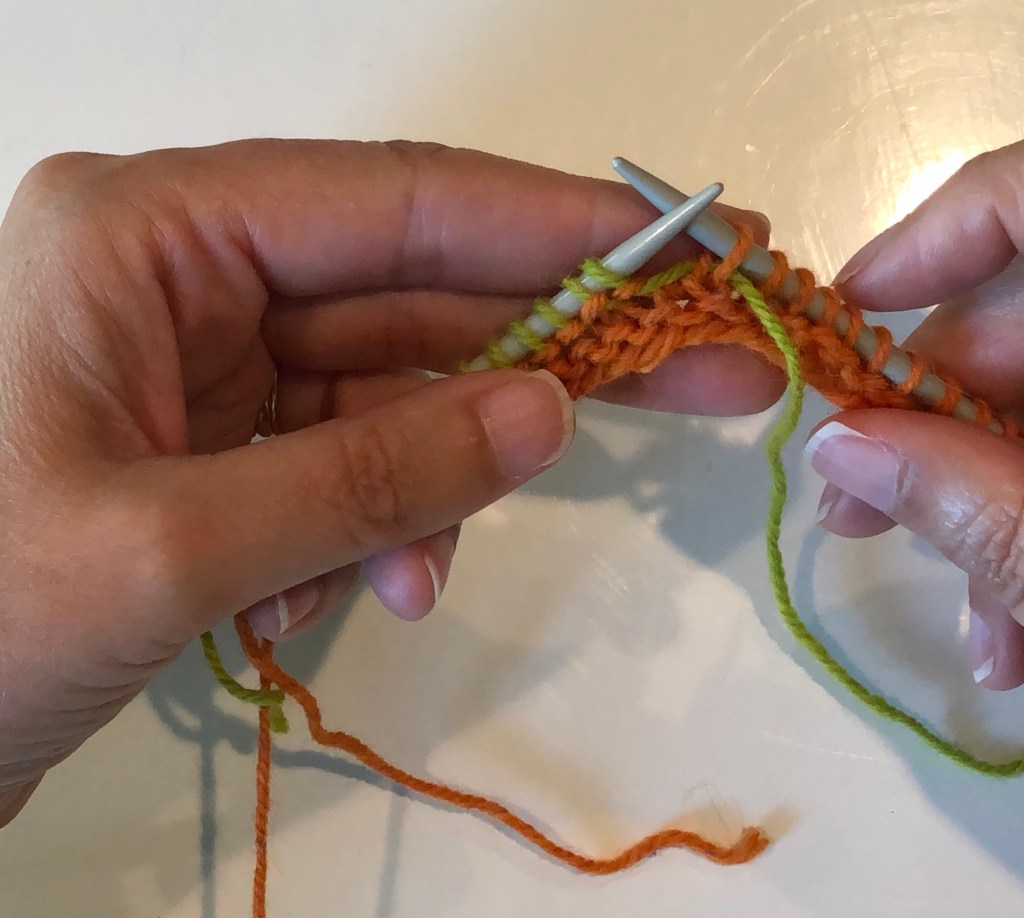
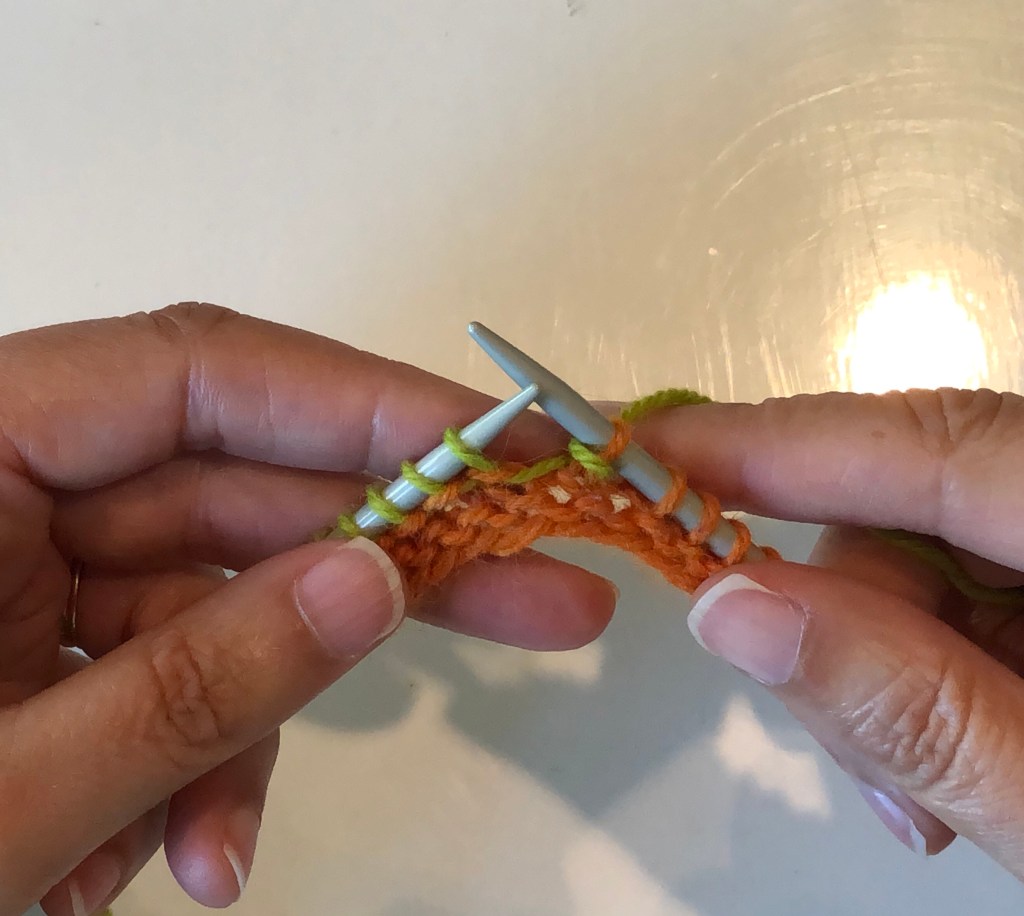
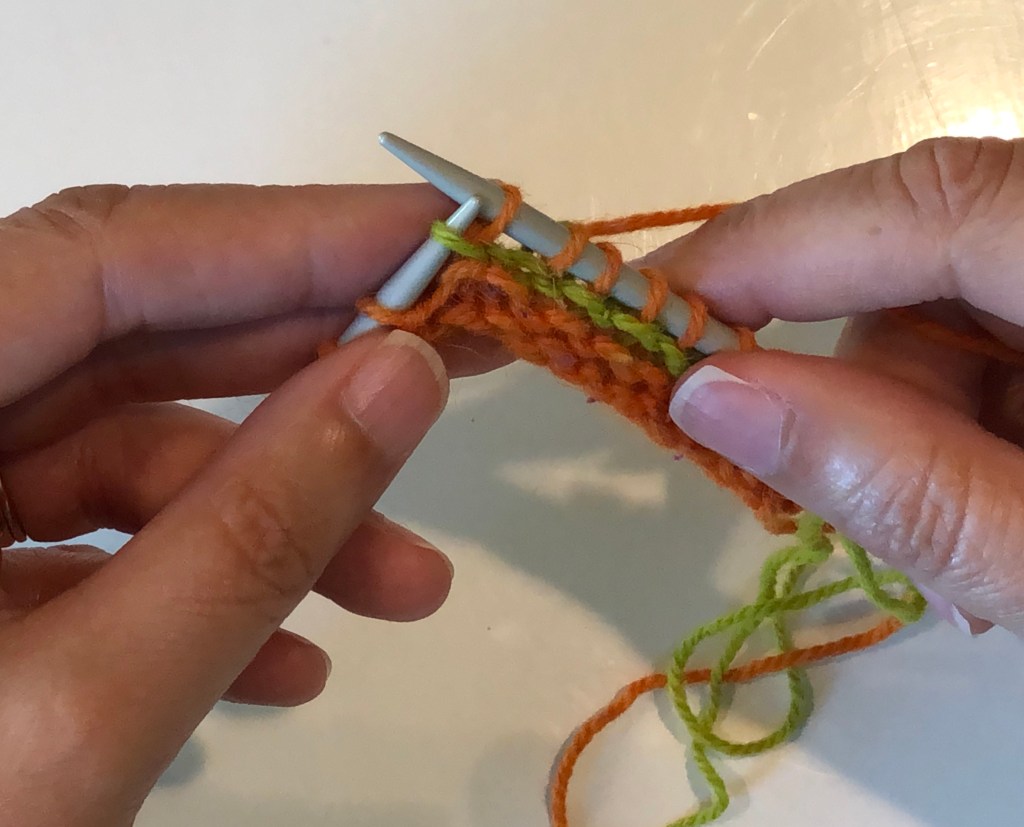
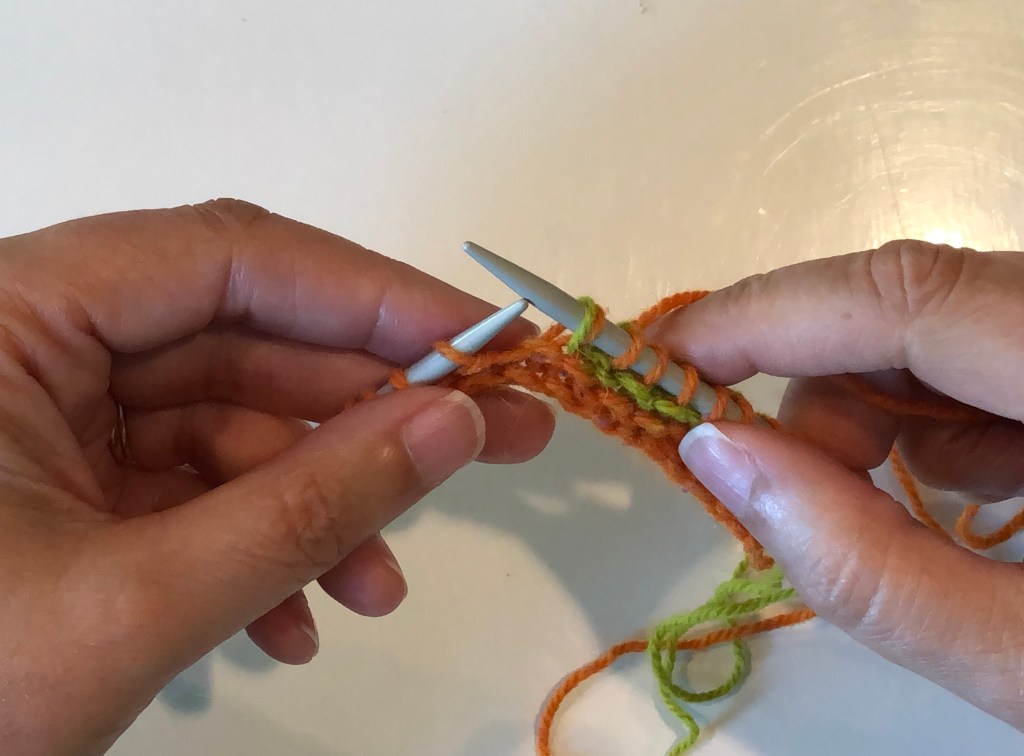
Work up to the wrapped stitch and slip this stitch (purl-wise) to the right hand needle.Pick up the wrap with the tip of the left-hand needle and place it over the slipped stitch.The wrap (green yarn) is over the slipped stitch (orange yarn).Move the slipped stitch and the wrap back to the left hand needle.
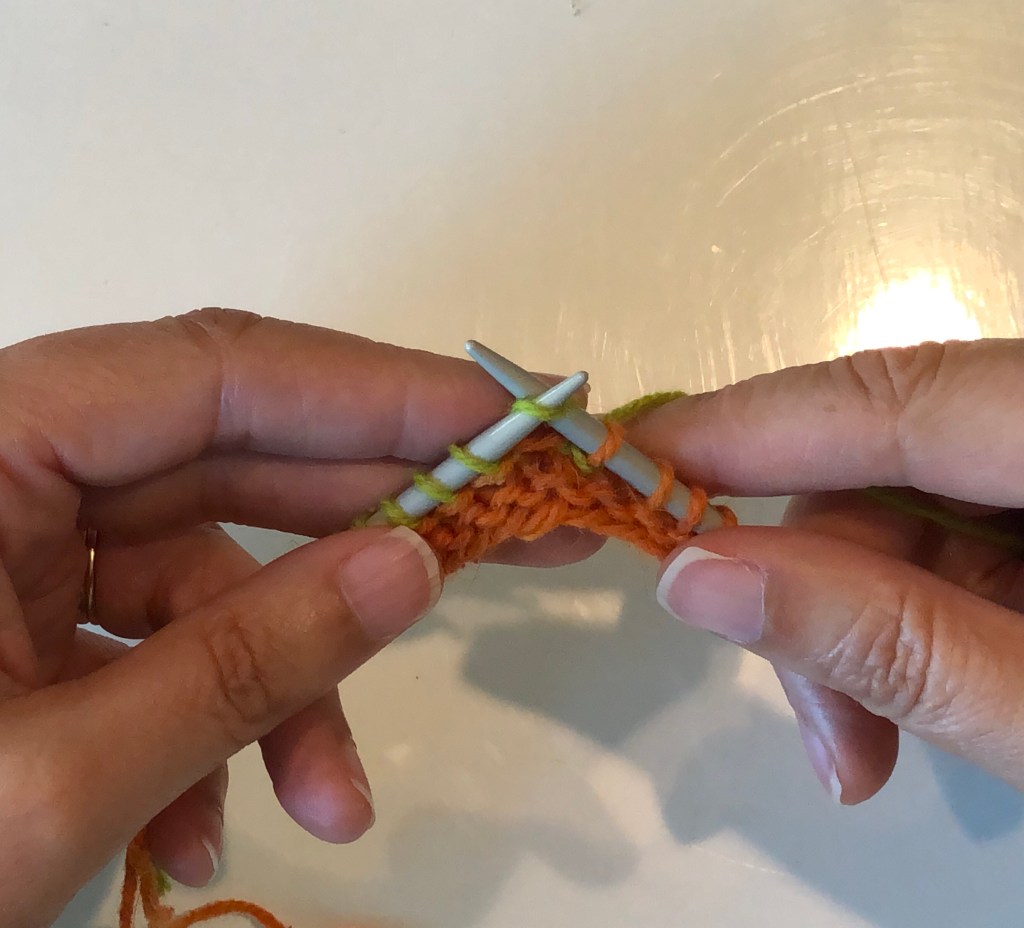
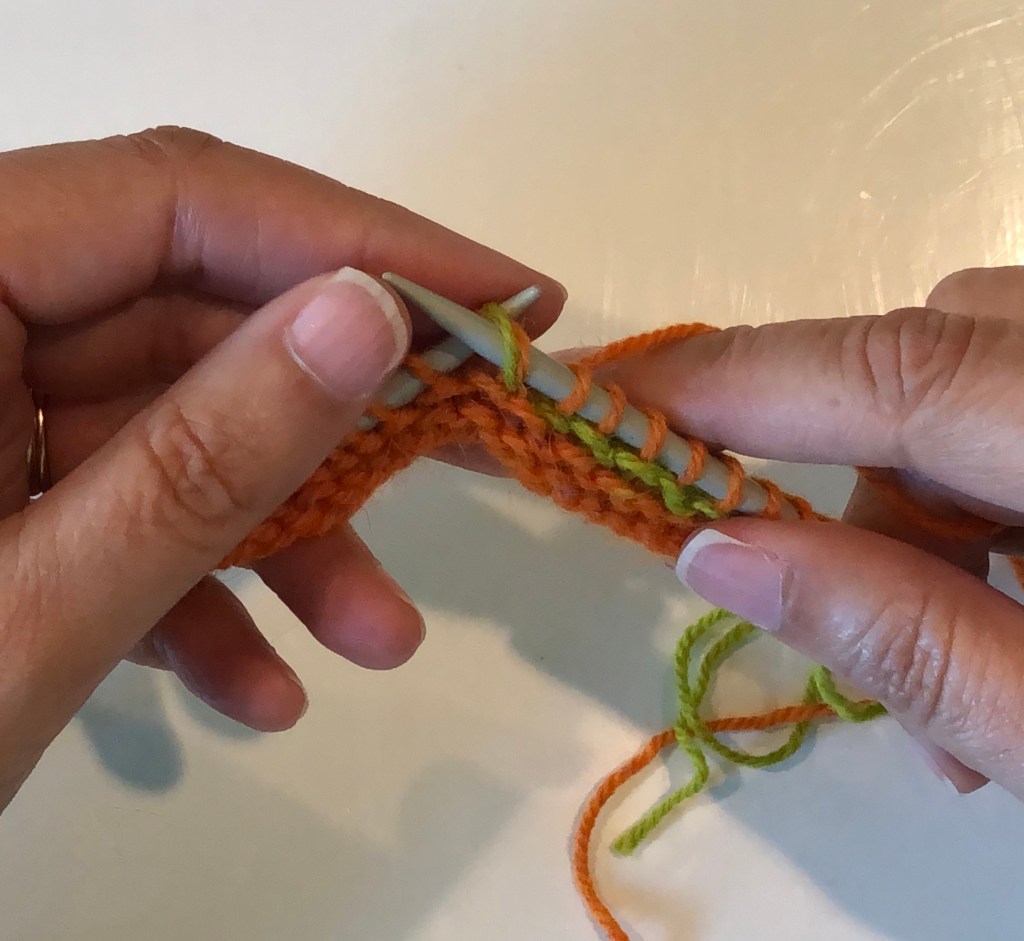
Knit the stitch and the wrap together.
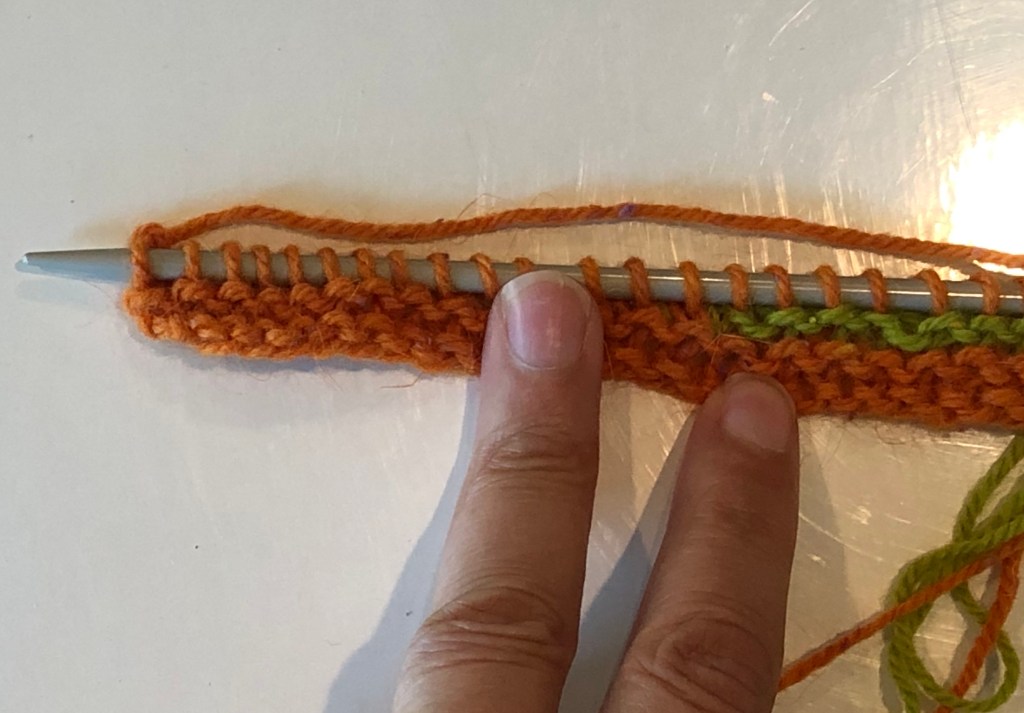
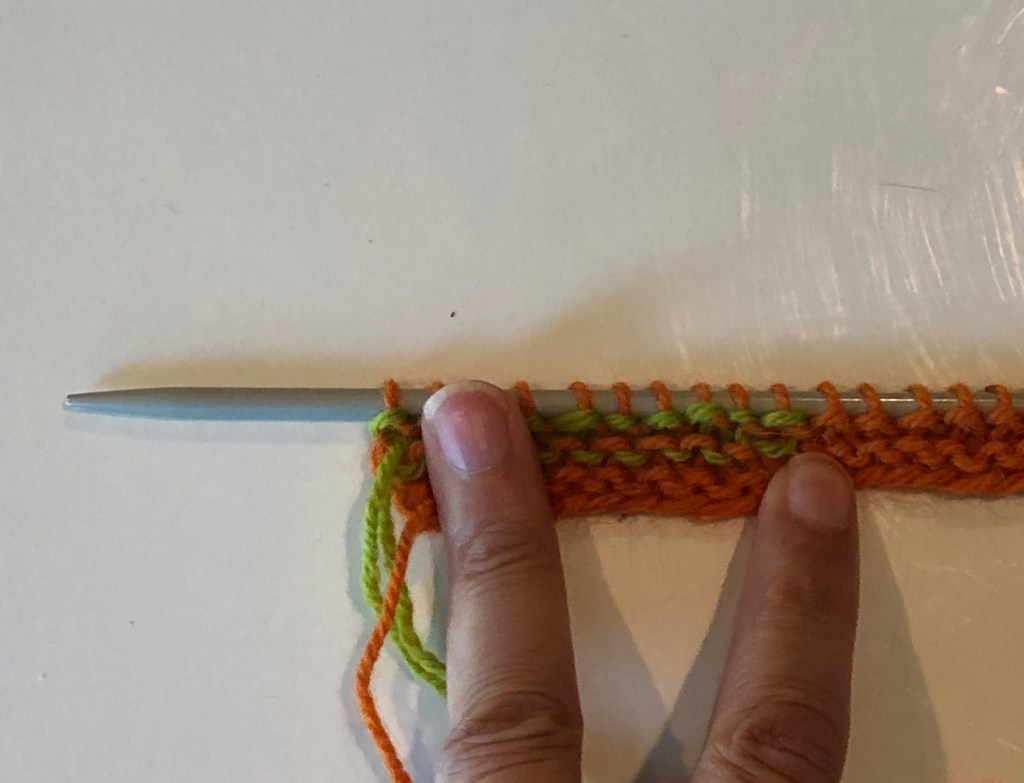
Right-side and Wrong-side Views
View of the short row from the front of the work. The wrap is hidden on the back of the work.View of the short row from the wrong side of the work.
Coming soon: German and Japanese short rows. But first, some posts about chocolate.